How to Create a DIY Deadlift Platform
Oct 15, 2021

As an Amazon Associate, Modded gets commissions for purchases made through links in this post.
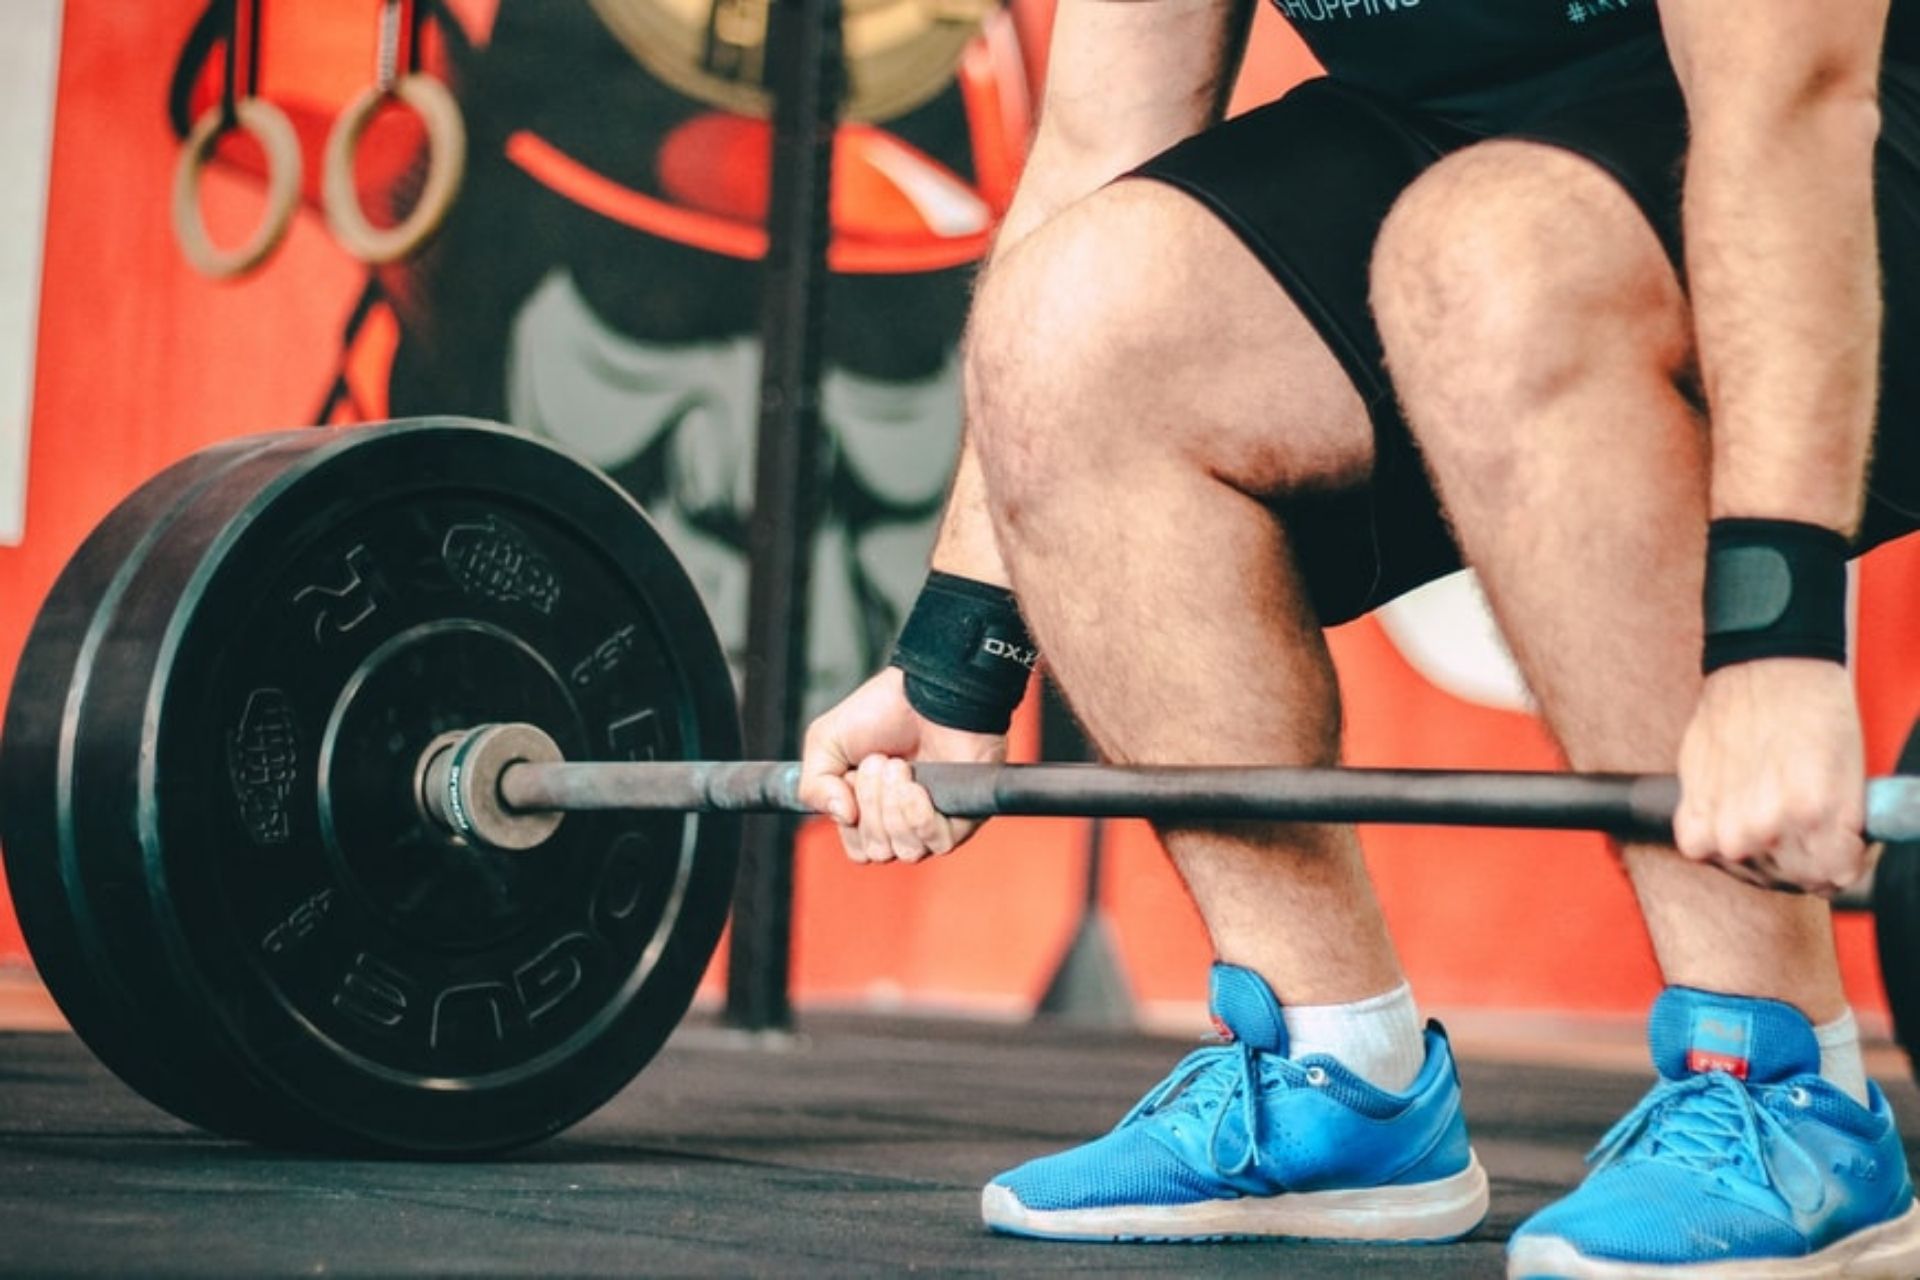
Whether you own a strength gym or want to create a dream workout space at home, a deadlift platform is essential to your fitness setup. This vital piece of equipment is usually made from a combination of wood and rubber and will deaden the sound of your weights hitting the floor. A well-built platform will also protect the floor, weights and your bar when you drop that heavily loaded barbell to the ground.
While you can certainly buy a pre-made platform, finding an affordable one can be tricky as they often break the $1,000 price mark. For this reason, many guys opt to build their own, a simple project that requires just a few hundred dollars and an hour or two of free time.
Follow the step-by-step guide below to create and personalize your own DIY deadlift platform. It’s easier than you might think!
1. Gather Materials and Tools
You’ll only need a few simple materials to create your own deadlift platform. The following will help you build an 8’x8’ piece of equipment with a sheet of plywood up the middle. This larger version is more convenient and safe as it allows you to secure your weight rack on top.
- Four 4’x8’ pieces of 0.625-inch thick particleboard
- One 0.75-inch thick maple or oak plyboard
- Two 4’x6’ 0.75-inch thick horse stall mats
- Four 3.5-inch lag screws to secure the weight rack
- One box of 1.25-inch construction screws
- Eight washers
- Optional: Wood stain and decals
Look for these materials at your local home improvement store. You can find the horse mats at Tractor Supply Company or a feed store in your area. When all else fails, you can easily order whatever you need online and get everything delivered right to your doorstep.
You’ll also need a few basic tools:
- Power drill
- Box cutter with extra blades
- Chalk line
- Straight edge
- Optional: paintbrush for applying stain
2. Screw the Particle Boards Together
Decide where you want your platform to go and begin by laying the two pieces of particle board side-by-side in that designated space. Then, layer on the other two pieces so they’re perpendicular to the first two. Use your power drill to screw them together, placing a screw in each corner and then a few down each side.
Finally, place the plywood on top and right in the middle of the particle board. You should have two feet of board on each side of the plywood for the rubber matting. Secure the plywood to your boards with construction crews.
3. Mark and Cut Mats
Next, take both horse stall matsp and use the chalk and your straightedge to mark a line down the middle lengthwise. Cut them both in half with the boxcutter. Set one cutting aside; you’ll only need three. Two will be used on either side of the plyboard and the third will need just a few more cuts.
Take that third 2’x6’ mat and mark off a spot 2’ down from the top to create a 2’x2’ square. Make the cut and repeat the process to make another square. These mats will complete either side of your deadlift platform.
4. Place and Secure
Place the 2’x6’ strips or mat on each side of your platform so they’re flush with the front edge. Secure the edges with screws. Then, place the smaller 2’x2’ squares behind them and drill them down with construction screws. Now all you have to do is bolt down the squat rack and you’ll be good to go!
5. Bolt the Rack Down
Position your rack at the back of your deadlift platform so that it’s on top of the plywood surface. Push if flush up against the edge or leave a few inches of space. Once it’s symmetrical, mark and drill pilot holes for the lag screws. These will secure the rack so it doesn’t tip over during heavy weightlifting sessions. Use a socket wrench to secure the rack feet and put two washers between the head of each screw and the rack to minimize wiggling.
Personalizing Your DIY Deadlift Platform
Stocking your home with the latest and greatest fitness gear is nice, but it’s not very personal. Luckily, you can easily personalize your DIY deadlift platform with wood stains and decals. Add some color and visual interest by staining the plywood blue, adding stickers or painting a design on it. You can even order custom decals with your name or motivational sayings on them to inspire you during tough workouts.
Regardless of how you personalize your platform, you can rest easy knowing your floor is safe and your gym is 100% more awesome than it was before.


