As an Amazon Associate, Modded gets commissions for purchases made through links in this post.
Brake pads are small, but vital pieces of your vehicle. With the rotor, caliper assembly and a little help from some brake fluid, they’re responsible for bringing your car to a stop, and keeping the roads safe. If you need to replace them, you should know how to change brake pads the right way.
How Much Does it Cost to Change Brake Pads?
The cost will vary depending on whether you decide to change the brakes yourself or hire a professional, but the final expense should fall within the following price ranges.
- Parts and tools cost between $35 and $150.
- Labor costs between $80 and $120 per axle.
- Total cost: between $115 and $300
If you opt for a DIY project, you only need to acquire the right parts. Keep in mind that auto manufacturers price their parts differently, so your car’s parts might be more expensive than other vehicles. If you want to hire a professional, their hourly rates have a wide range and will have the most impact on the bottom line. Make sure you research at least a few body shops in your area to get the best deal.
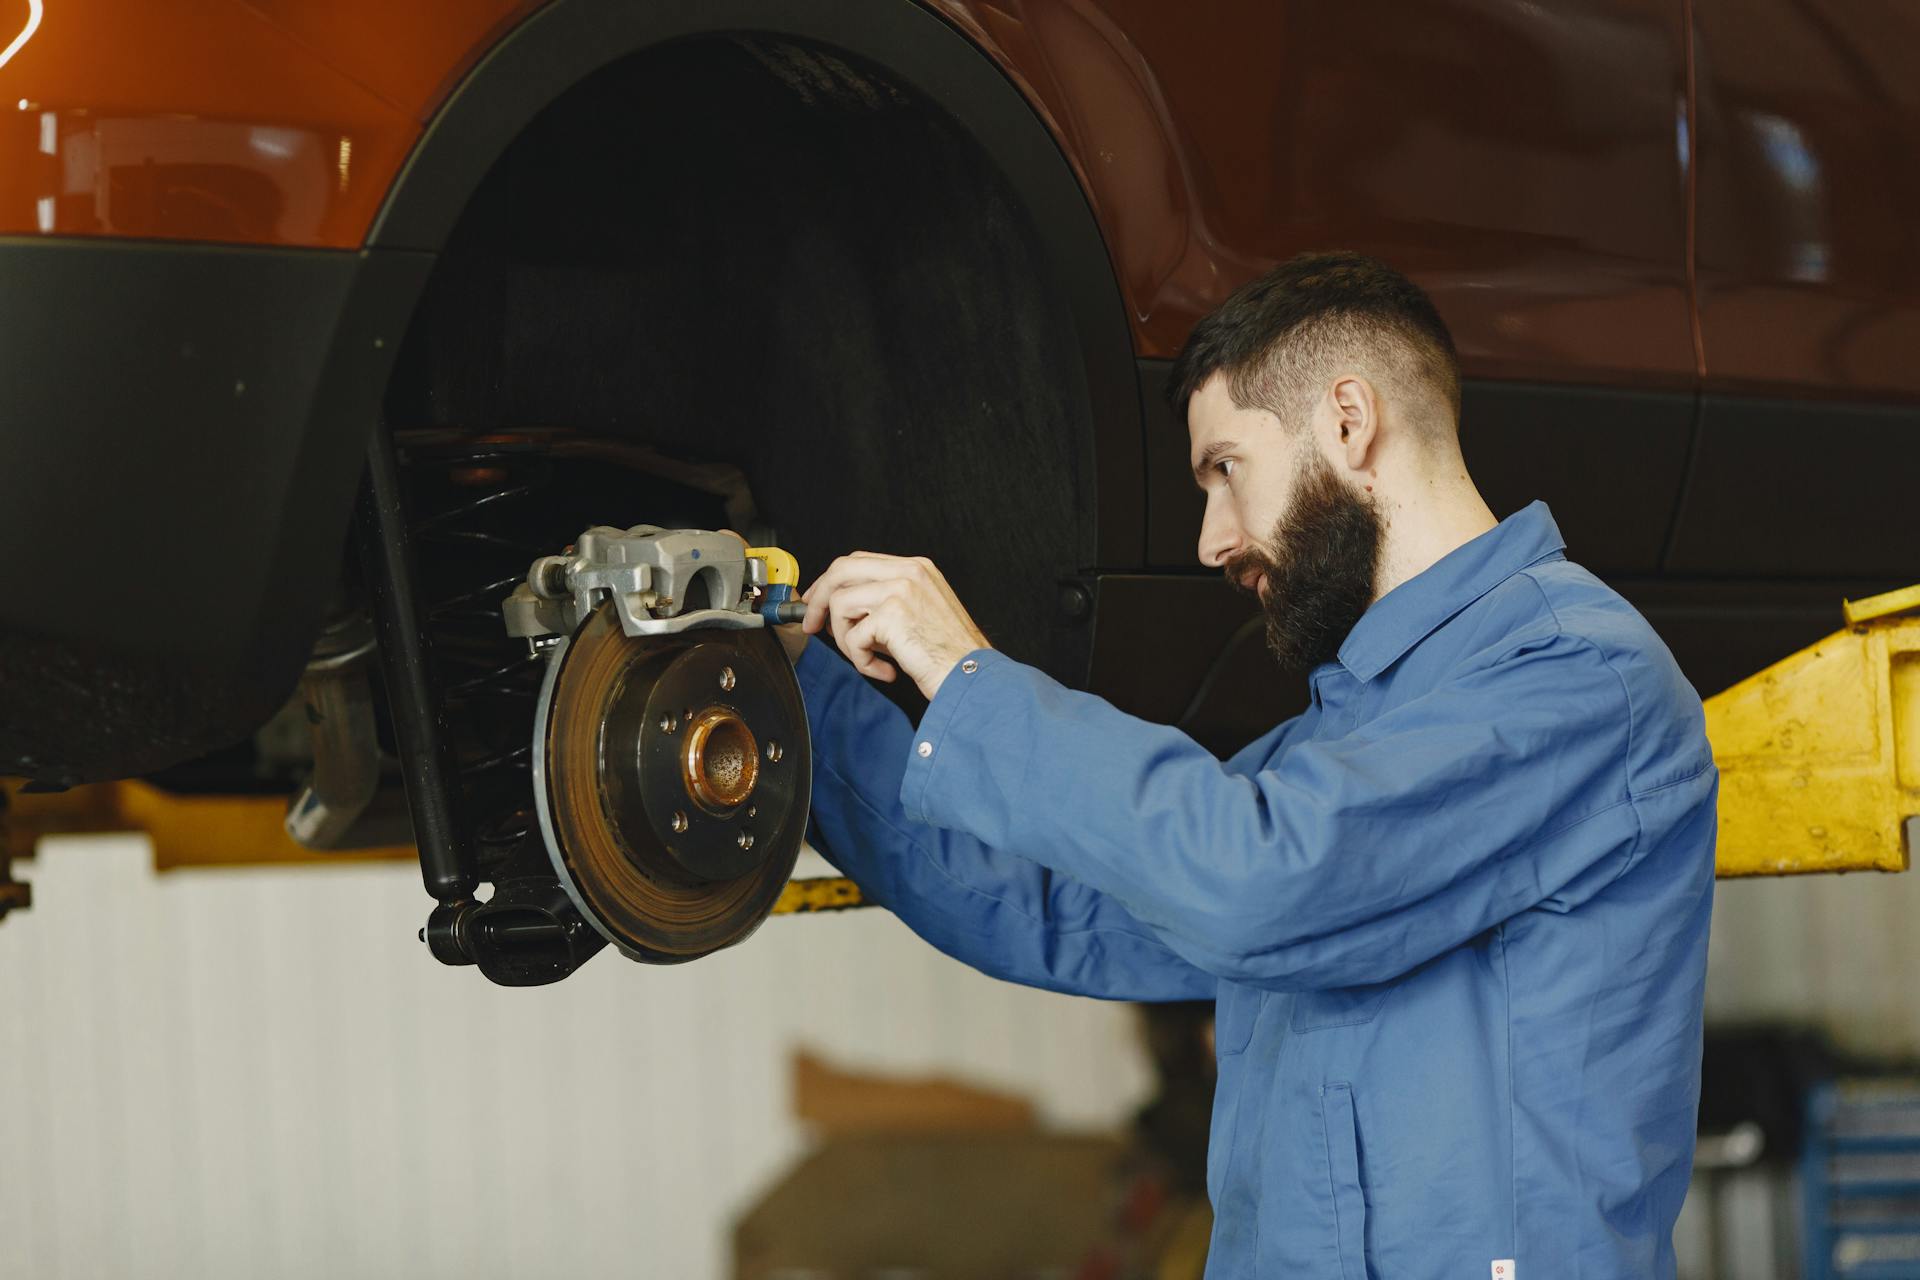
How to Change Brake Pads by Yourself
Changing brake pads by yourself isn’t necessarily easy, but the process is straightforward enough compared to other mechanical fixes. First, make sure you have enough space to complete the project. A flat driveway or one-car garage should suffice. Then, you have to purchase the right parts and tools. Here’s what you’ll need:
- Brake pads, rotors, fluid and cleaner
- Disc brake pad spreader set
- Floor jack, jack stand
- Torque wrench, other essential tools
- Eye protection, gloves
Once you have everything you need, park your car and clear out the surrounding area to have more floor space. You’re ready to get started!
1. Inspect the Brakes
First, you should perform a close inspection of your current brake pads. They usually wear out at around the 50,000-mile mark, but that number dramatically varies. Consult your owner’s manual for the correct estimate and look for the telltale signs. Worn-down brakes tend to make squeaking and grinding noises when the car slows down and a slight bounce when the car comes to a stop.
You should also check your brake fluid level. If the reservoir has too much fluid, it can move around and spill onto other parts while you work on the car. Remove a little bit of fluid if necessary.
2. Loosen the Lug Nuts
Loosen the lug nuts on your wheels with a breaker bar and socket so they’re easier to take off when you lift the vehicle into place. The disc brake pad spreader set should include these tools. Some lug nuts may be more challenging to remove than others, so it’s best to put your weight on the wrench for extra leverage.
3. Lift the Car into Position
Put the floor jack into place and slowly lift the car. Place the jack stands in spots that support the vehicle’s weight, then slowly lower the car again until it rests comfortably on the stands. With the car in place, you’re ready to begin removing parts.
4. Remove the Lug Nuts, Wheels and Caliper Bolts
Take out the lug nuts that you loosened earlier, then remove the wheel. Now you should see the caliper bolts. If they’re not visible, turn the steering wheel slightly until you can see them. Use the torque wrench to unscrew them. Removing the caliper bolts will allow you to take apart the other important parts of the caliper assembly.
5. Remove the Old Brake Pads and Rotor
Remove the old pads and inspect them for uneven or excessive wear. Those patterns usually mean that the brake pads lack enough lubrication, which can significantly decrease the pads’ lifespan. From there, remove the brake caliper, brake caliper bracket and rotor in that order. These parts should come off if you unscrew the caliper bolts correctly. A rusty rotor might stick, so get help from a rust penetrant or a hammer if necessary.
6. Prepare the Rotor Mounting Surface, New Rotor and Brake Pads
With all of the parts removed, you can prepare to install the new brake pads. Start by cleaning the rotor mounting surface with a wire brush, steel wool or another thick substance to remove rust. Use the brake cleaner to wipe off the rotor and new brake pads (they might be new, but you should still clean them before attaching them). Your new pads should come with their own clips, but if they didn’t, clean off your old clips as well.
7. Attach the New Rotor and Pads
Attach the rotor, then apply brake lubricant at the clip contact points. After using the lubricant, install the brake pads in the same position as you found the old pads. It’s helpful to take photos during this process so you can reference them later on.
8. Inspect the Brake Caliper and Piston
Check the brake caliper and piston for any fluid leaks. If everything looks dry and clean, use the disc brake pad spreader to secure the caliper piston. Once the piston is secure, you’re ready to reinstall the brake caliper.
9. Adjust the Caliper Assembly
Put the brake caliper back into place. Tighten it only as much as you need to. If a caliper is too tight, it restricts the braking process and can quickly damage the brake pads. Use a torque wrench to get adequate tightness.
10. Make Sure the Brake Fluid is Working
Look at the brake fluid reservoir for any spillage or overflow. If you have a sufficient amount, pump your car’s brakes lightly to make sure the fluid has reached the brakes and is doing its job.
11. Reattach the Wheel and Lower the Vehicle
Put the wheel back into place and secure it with the lug nuts. Use the jack to raise the vehicle off the stands, remove the stands and promptly lower the car back down to the ground. If you got this far, you’ve successfully changed a brake pad on your vehicle!
12. Bed the Brakes
To be 100% sure that your DIY project worked, take the car out for an easygoing test drive. Accelerate to a decent highway speed, then slow down to about half the speed and stay in cruise control for a few minutes. Repeat this process several times so you successfully “bed the brakes” and prepare them for full-time use.
How to Change Brake Fluid
1. Ensure You Have the Correct Tools
Make sure you have the tools needed to successfully change your vehicle’s brake fluid.
- Brake fluid (make sure to use the type specified in your vehicle’s manual)
- Wrench or brake bleeder wrench
- Clear plastic tubing
- Brake bleeder kit
- Jack and jack stands or a vehicle lift
- Wheel chocks
- Turkey baster or similar tool
- Container for old brake fluid
- Safety glasses and gloves
2. Preparation
Park your vehicle on a flat surface. Use the wheel chocks to prevent the car from moving or rolling backwards. Look at the car manual to ensure you use the correct brake fluid.
3. Raise the Vehicle
Use a jack lift to lift the car and place it securely on jack stands. Ensure the vehicle is stable before you begin working underneath it.
4. Locate the Master Cylinder
Open the hood and locate the brake master cylinder reservoir. You can typically find this near the back of the engine bay, toward the driver’s side.
5. Remove Old Fluid
Using a turkey baster or similar tool, remove as much old brake fluid as possible from the master cylinder reservoir. Be careful not to spill brake fluid, as it can damage paint and other surfaces.
6. Refill With New Brake Fluid
Refill the cylinder reservoir with new brake fluid to the recommended level.
7. Bleed the Brakes
Starting with the brake furthest from the cylinder — usually the right back — locate the brake bleeder valve on the brake caliper or wheel cylinder. Attach a clear plastic tube on the bleeder valve, with the other end submerged in a container partially filled with brake fluid to prevent air from entering the system.
Have someone help you pump the brake pedal several times, then hold it down. Loosen the bleeder valve slightly to allow fluid and air to escape. Once the fluid runs clear without bubbles, tighten the valve and instruct someone to release the brake pedal. Repeat this process until only clear fluid comes out of the bleeder valve.
8. Repeat for All Wheels
Follow the specific bleeding sequence in your vehicle’s manual. Refill the master cylinder with new fluid as needed to prevent it from running dry.
9. Check for Leaks
Once you’ve bled all the brakes, check the bleeder valves and master cylinder for any leaks. Tighten them as necessary.
10. Lower the Vehicle
Carefully lower the vehicle off the jack stands using the jack.
11. Do Final Checks
Check the brake fluid level in the master cylinder reservoir once last time, and top it off if necessary. Pump the brake pedal to ensure it feels firm. If it feels spongy, there may still be air in the system, and you’ll need to bleed the brakes again.

How Long Do Brake Pads Last?
Your brake pads should last around 50,000 miles, but it all depends on the make and model of your vehicle. Aggressive driving with harsh braking and carrying heavy loads can significantly reduce brake pad life, sometimes as low as 15,000 miles. On the other hand, gentle driving can extend it to 70,000 miles or more. Organic pads wear out faster, generally lasting 20,000 to 40,000 miles, while semi-metallic and ceramic pads are much more durable, often lasting 30,000 to 70,000 miles.
When to Replace Brake Pads
Signs that brake pads need replacement include squealing or screeching noises, grinding sounds, reduced braking performance, a brake warning light and visual inspection showing pad thickness below ¼ inch. If you notice that the car is vibrating more than usual, it may actually suggest that you’re due for a tire rotation instead.
Inspect your brake pads regularly, avoid aggressive braking and maintaining the braking system can help extend the life of your brake pads and ensure vehicle safety.
How Often to Replace Brake Rotors
You generally need to replace rotors every 50,000 to 80,000 miles, though this can vary based on driving habits, vehicle type and rotor quality. Aggressive driving, frequent hard braking and driving in hilly or mountainous areas can accelerate wear, requiring more frequent replacements. Additionally, driving in conditions that expose rotors to a lot of dirt and debris — such as off-road driving — can also shorten their life span.
Signs that you need to replace your rotors include vibrations or pulsations in the brake pedal, scoring or grooves on the rotor surface and a noticeable reduction in braking performance. You can identify worn or damaged rotors by regularly inspecting them and doing routine maintenance. Maintaining the entire braking system can extend the life of your rotors.

How to Replace Brake Rotors
To replace your brake rotors, you’ll need the following:
- Jack and jack stands
- Lug wrench
- Socket set and ratchet
- C-clamp or brake caliper tool
- Brake cleaner
- New brake rotors
- Torque wrench
1. Prepare Your Car
Park the car on an even surface. Loosen the lug nuts on the wheels slightly before jacking up the car. Use a jack to lift the vehicle and secure it on jack stands.
2. Remove the Wheel and Brake Caliper
Fully remove the lug nuts and the wheel. Locate the brake caliper and remove the bolts holding it in place using a socket wrench. Carefully lift the caliper off the rotor and suspend it using a piece of wire or a bungee cord. Don’t let it hang by the brake hose.
3. Remove the Caliper Bracket and Old Rotor
Remove the bolts securing the caliper bracket to the knuckle. Slide the old rotor off the wheel hub. If it’s stuck, tap it gently with a rubber mallet.
4. Install the New Rotor
Clean the new rotor with brake cleaner to remove any protective coating. Place the new rotor onto the wheel hub.
5. Reassemble the Brakes
Reattach the caliper bracket and torque the bolts to the manufacturer’s specifications. Compress the brake caliper piston using a C-clamp or brake caliper tool. Reinstall the brake caliper over the new rotor and secure it with bolts.
6. Reinstall the Wheel
Put the wheel back on, hand-tighten the lug nuts, then lower the vehicle and torque the lug nuts to the manufacturer’s specifications.
7. Test the Brakes
Press the brake pedal a few times to ensure the caliper piston is correctly seated. Test drive the vehicle at low speeds to ensure everything is working correctly. While it’s not always necessary, it’s best to change brake pads and rotors at the same time. Both parts work together to optimize braking performance.
Know Your Vehicle
Every car owner should be well-versed in mechanical terms and practices because you never know when you’ll have to fix something yourself. Professional body shops are valuable resources for major fixes, but you should know the basics of how to swap brake pads and make other small changes to your vehicle. If you think you’re up to the challenge, follow this step-by-step guide to changing brake pads so you can get back on the road!
Originally published 2/21/2022 — Updated 6/10/2024