As an Amazon Associate, Modded gets commissions for purchases made through links in this post.
No matter what kind of vehicle you drive, keeping up with regular maintenance is key to ensuring it stays running reliably and safely whenever you get behind the wheel.
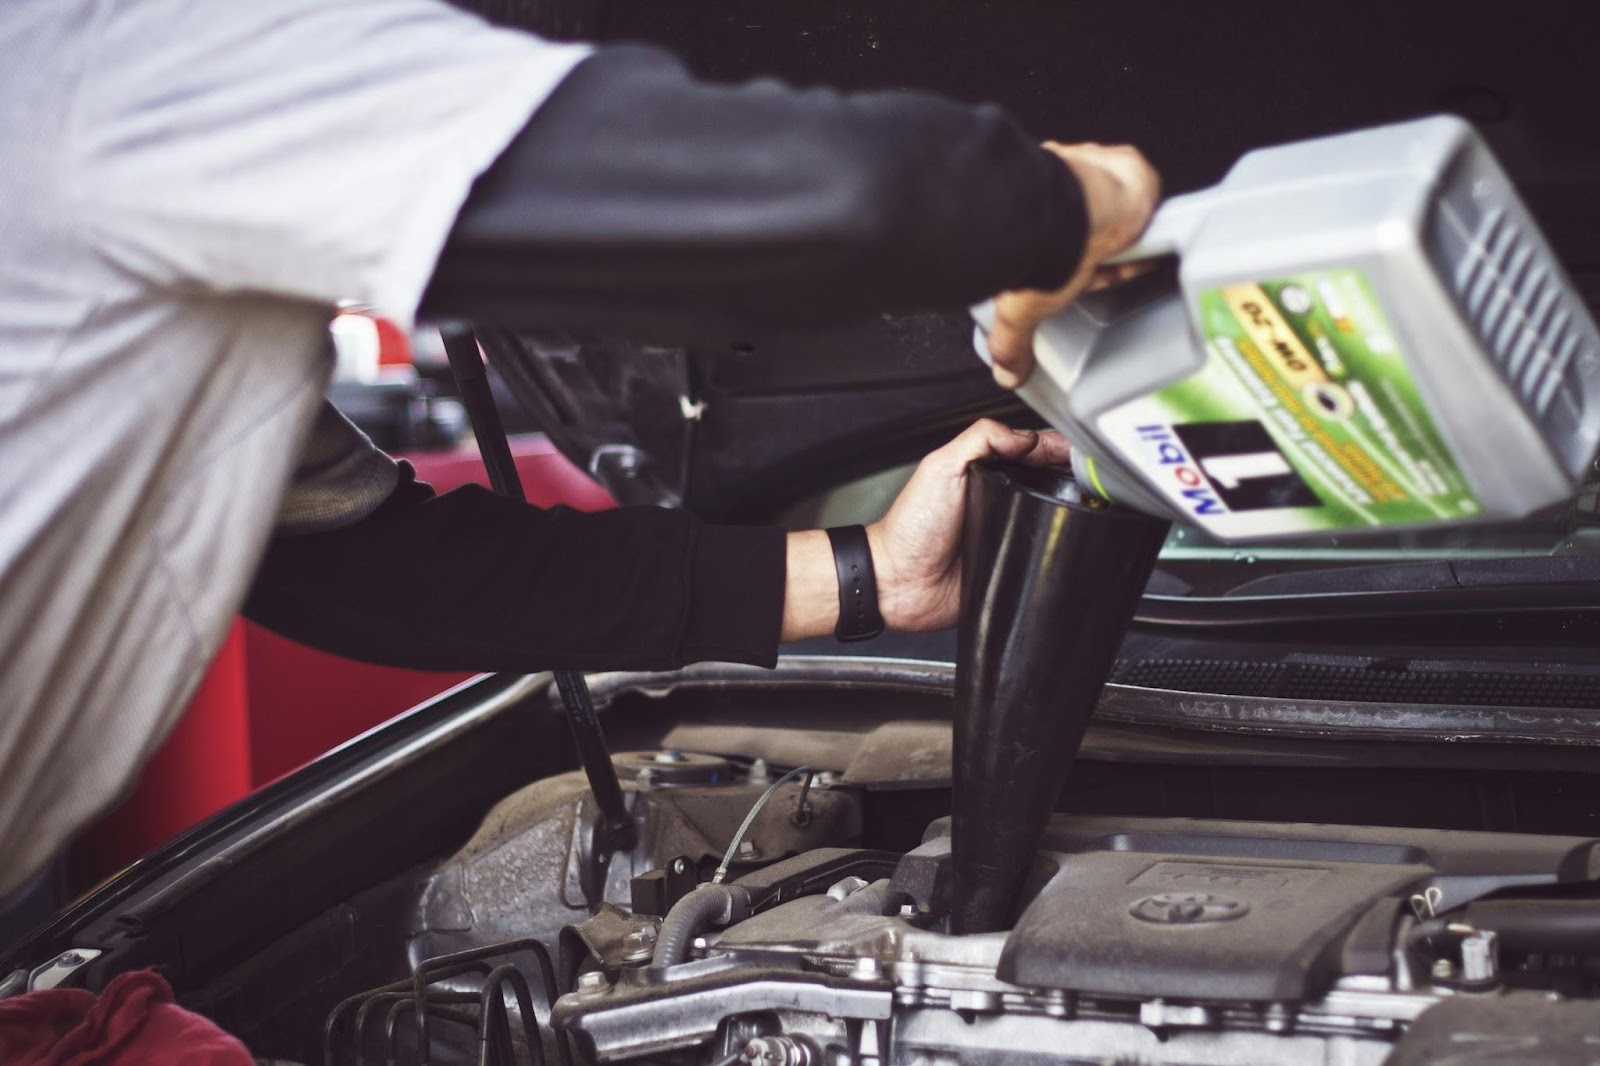
While there are some repairs and maintenance tasks you may need a professional to handle, there are several things you can do on your own — like changing your oil or your fuel filter — to keep your vehicle in top condition year-round.
As your vehicle’s main defense for ensuring your engine runs smoothly, the fuel system isn’t a part that you want to ignore. Being able to identify when it’s clogged and not working as it should is key. You want to make sure your vehicle will get you wherever you need to be — without worrying about being stranded on the road.
Instead of having a professional do the inspection and replacement for you, you can save money and have the satisfaction of knowing you understand how to maintain your vehicle on your own with this guide.
What Is a Fuel Filter?
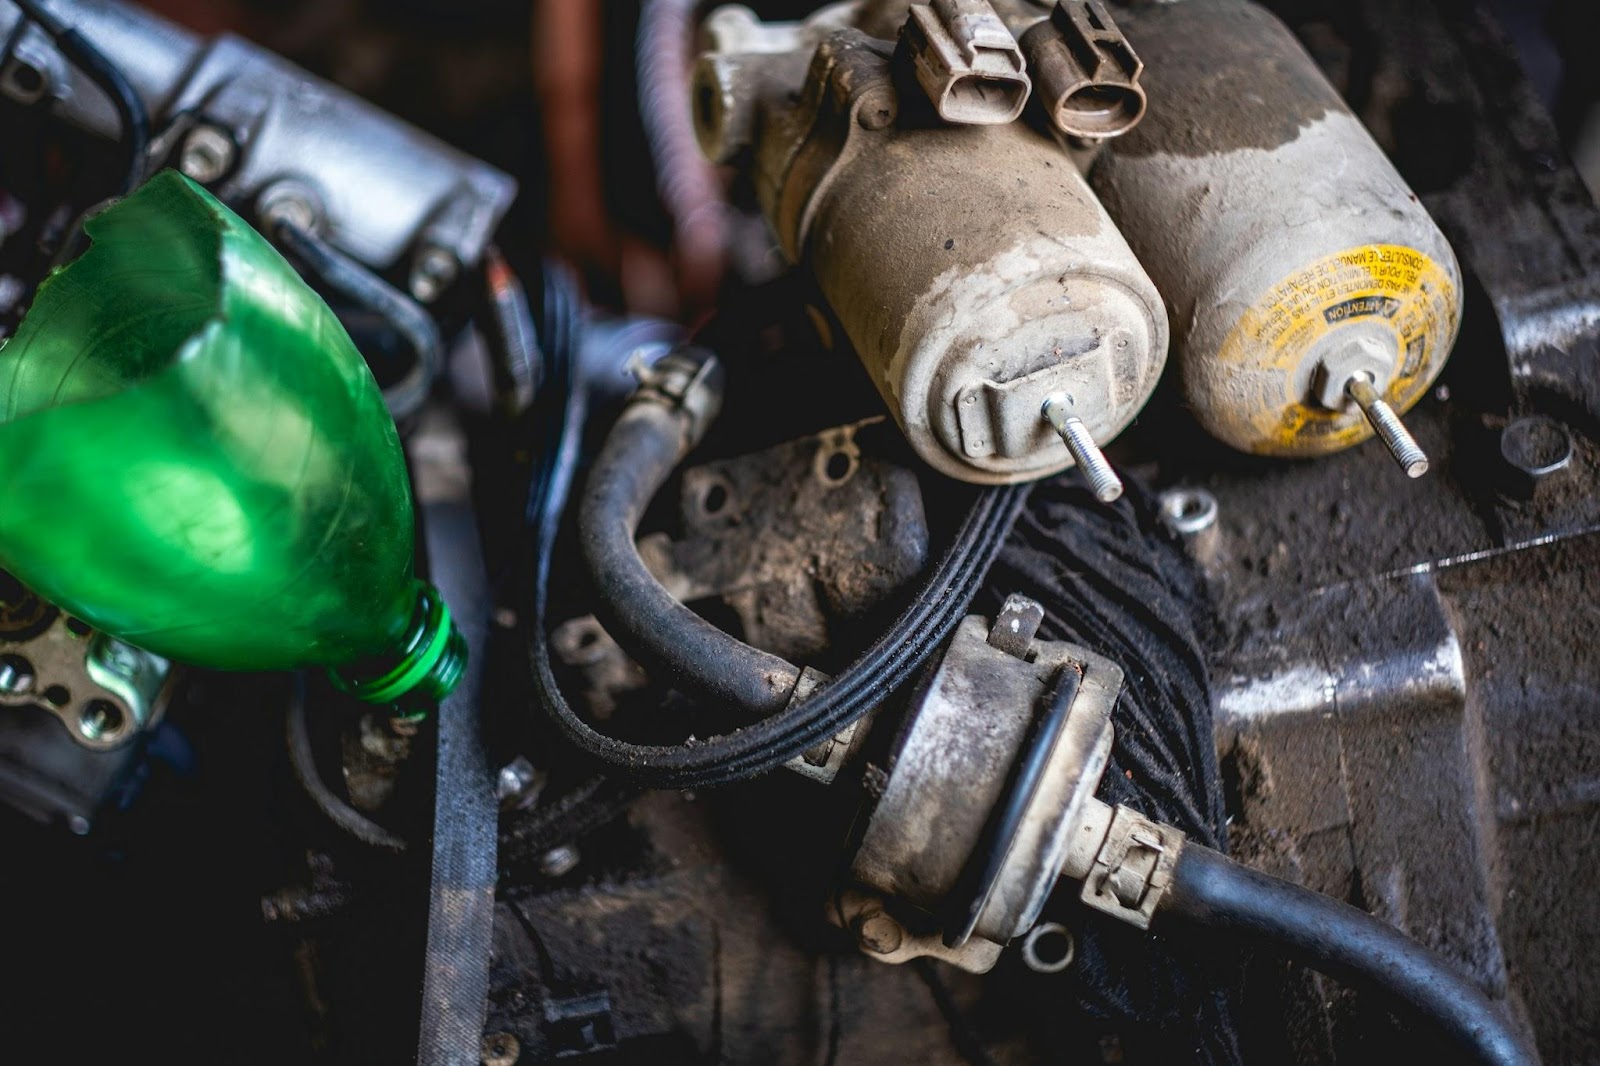
A fuel filter is a crucial component of your vehicle’s gas delivery system. Everything from dirt to rust adn dust can easily get inside the fuel tank and damage the parts and components. These particles can then start to build up, affecting the engine’s ability to create enough power to get your car running and moving.
The fuel filter serves as a protective barrier, preventing impurities and pollutants from getting inside, which could then contaminate the gas and damage the engine. It will negatively impact the fuel flow and potentially harm surrounding components, leading to costly repairs.
When the fuel filter is functioning as it should, it will ensure the fuel is able the flow freely and your engine is able to perform as it should. Your engine will be more reliable and last longer whenever you get behind the wheel.
Depending on the type of vehicle you have, the location of your fuel filter could vary. Common areas include:
- In the fuel tank.
- Outside the tank.
- Integrated into the fuel pump assembly.
It’s also possible to have a pair of fuel pumps, with one inside and outside of the fuel line. Once you’ve located the fuel filter, you may find one or two of these two main categories of fuel filters:
- Inline: An inline fuel filter is one of the most common types. It can either be plastic or metal and is typically found in the fuel line, which is between the tank and engine. The inline fuel filter is especially designed to prevent contaminants and debris from entering and damaging the engine.
- Cartridge: The cartridge-type can usually be found between the fuel tank and injectors. These filters feature a porous filter paper, or another type of similar material that’s able to collect any unwanted particles. While this material is fine enough to collect dust, it still allows the fuel to pass through.
If you’re unsure which type of fuel filter you have or where you can locate it, check your owner’s manual. It’s important to keep in mind that even though inline and cartridge are both types of fuel filters, they can’t be used interchangeably. Both are serviceable parts and will need to be replaced eventually, but it’s crucial to know which one your vehicle uses before getting started.
What Are the Signs of a Clogged Fuel Filter?
Over time, the dirt, rust and dust can start to build up, which is why it’s important to regularly check and change out the fuel filter as needed. When this starts to happen, you’ll notice a few tell-tale signs:
- Difficulty starting your vehicle: A clogged fuel filter most likely won’t cause your entire engine to stop, but you may find that it’s much more difficult to turn over and start when it’s dirty. This is because the contaminants are disrupting the flow to the engine.
- Strange sounds coming from the engine: Hearing strong vibrations or other strange signs whenever your engine is idling could be a sign that your vehicle needs a new filter.
- Decreased engine performance: If there is a backup, your engine won’t be able to perform as it should. When this happens, you may notice signs like lagging acceleration, especially when you are driving on hilly roads. When driving at lower speeds, your engine may be sluggish or sputtering.
- Stalling when running: Similarly, your engine may start to stall when it’s running because the blockage is causing the engine flow to be disrupted. When this happens, you may notice that your vehicle will start up, but then once the fuel inside is used up, the engine will eventually fail.
How Often Should You Change a Fuel Filter?
No matter what kind of vehicle you drive, it’s best to regularly inspect and replace your fuel filter just like you’d want to change your oil and transmission fluid to keep your vehicle running reliably. Depending on factors like the type of vehicle and how old it is, the frequency can vary. In general, it’s recommended to change the fuel filter in a gasoline engine every 20,000 to 30,000 miles, while a diesel engine will most likely need it replaced every 10,000 to 15,000 miles. It’s always good practice to first check your owner’s manual to see if there are any recommended timelines listed.
The fuel quality can have an impact along with how you drive and use your vehicle. These kinds of factors will all affect how frequently you need to change it. Doing a lot of towing or driving in rougher road conditions, for example, will have more of an impact, requiring you to check and replace it at more frequent intervals.
Even if your vehicle hasn’t hit the recommended mileage timeframe, if you’ve been noticing some signs of a clogged fuel filter, it’s best to take action sooner rather than later. Staying proactive ensures your vehicle’s system doesn’t go through any unnecessary strain, causing it to get damaged.
What Tools and Materials Do You Need?
Before you start changing out the fuel filter on your gasoline-powered vehicle, there are a few tools and materials you’ll want to gather together. Some of the essentials include:
- Standard tools: You’ll need a variety of tools to get the job done. Some of these essential tools include screwdrivers, pliers or hose clamp pliers and a wrench set. The type of vehicle you drive will determine the sizes of the wrenches and whether a flathead or Phillips screwdriver would be best. You may also need a socket set. Keep some paper towels or an old rag on hand to help catch drips and clean up any spills.
- Replacement fuel filter: Once you’ve determined the correct type of fuel filter for your vehicle, you’ll want to purchase a replacement filter. You may want to purchase some replacement fuel filter clips to have on hand as well. These clips can have a tendency to break while you’re replacing the filter.
- Container: Have some kind of bowl or bucket so you can catch the run-off and keep the area you are working in clean. Make sure that whatever container you choose will be able to safely catch fuel.
- Safety equipment: It’s also important to keep yourself safe throughout the process. This is why you want to make sure you have some gloves and safety glasses on hand.
How to Prepare to Change a Fuel Filter
After you’ve gathered all the necessary tools and materials, there are a few steps you can take to prepare to change your fuel filter. Before you begin, you want to make sure your vehicle has enough time to cool down. Especially if you’ve been driving, you want to be sure it cools down for a minimum of three hours.
7 Step Guide on How to Change Your Fuel Filter
Even if you’ve never replaced a fuel filter before, the process should only take about 15 minutes to an hour. Keep in mind that this process is not designed for diesel vehicles. Because of the differences in engines and higher pressure levels, it needs to be handled differently.
If you have a gasoline engines through, here are seven steps you should take:
1. Depressurize the Fuel System
Begin by disabling the fuel pump. The goal is to relieve some of the pressure inside the fuel lines and ensure it’s at a safe level before getting started. First, find your vehicle’s fuse box. Your vehicle will most likely have two of them.
Look for the fuse diagram to correctly identify and remove the fuel pump fuse. Then, ensure your vehicle is in neutral or park with the brakes on. Start the engine and allow it to run for a few minutes before turning it back off to depressurize the fuel lines. You can then replace the fuel pump fuse.
2. Remove the Negative Battery
Using a wrench, carefully disconnect and remove the negative battery cable. Locate the fuel filter and have your replacement fuel filter nearby. Depending on where your filter is located, you may need to jack up your vehicle to be able to get to it.
3. Prepare Your Vehicle and Work Area
Take the time to clean the fuel lines before you get too far into the replacement process. Once the fuel lines and surrounding areas are clean, loosen up all of the filter’s fittings.
Grab your bucket and place it beneath the fuel filter so it can catch any of the fuel that spills out. You can then start removing the clips. Most filters will have one on each end that you can remove with your screwdriver.
4. Disconnect the Fuel Lines and Remove the Filter
Now, you can disconnect the fuel lines by sliding the lines away from the filter. Remove the filter from within the fuel filter housing. This can be done by either sliding it out or by loosening the bolts.
6. Install the New Fuel Filter
Make sure the new and old filters are the same and facing the right way. Then, secure it and connect the fuel lines to the ends of the filter. Replace the retaining clips or bolts if necessary. The new fuel filter should fit firmly in place.
7. Check Your Vehicle
Even if it seems like the new fuel filter is firmly in place, it’s best to go back and check it over to make sure your vehicle is good to go. If you had to jack up your vehicle, lower it and reconnect the negative battery cable.
Start your vehicle up afterwards and then again a couple hours later to make sure there aren’t any leaks. This is an important step to do after changing the fuel filter because it allows you to catch any potential issues before you go out on the road again.
Changing a Diesel Fuel Filter
Similar to gasoline, how often you should change the fuel filter in a diesel vehicle can vary.
Keep in mind that while the fuel filters are similar in gasoline and diesel engines, the process of replacing them is different. Because diesel engines create a strong suction and the air intake goes directly into the engine, it’s crucial to turn off the engine before getting started. You don’t want anything to fall into the engine while it’s running and open the cold air collector box.
You also want to make sure all of the air bubbles are gone from the engine. Once the bubbles are out of the system, it needs to be primed for the new fuel to start circulating.
Improve Your Vehicle’s Reliability and Performance With Regular Maintenance Services
Keeping up with your vehicle’s regular maintenance is crucial to keeping it starting and running reliably day after day. Knowing how to do some of these tasks on your own can make a difference in the performance of your vehicle and help you save money.
Knowing how to inspect and change the fuel filter on your own can be a valuable skill to have. By consulting your vehicle’s owner’s manual and following the step-by-step guide, you can successfully handle the maintenance task on your own and help prevent serious engine issues.