As an Amazon Associate, Modded gets commissions for purchases made through links in this post.
People only walk to their cars when they need to use them. That’s why turning the key and not hearing your engine start is extra frustrating. A dead battery isn’t the end of the world, though — not if you have jump leads. Learn how to use jumper cables to bring your car back to life and keep it running no matter where you are.
Can Modern Cars Use Jumper Cables?
Modern cars can use jumper cables, even if they’re electric. Standard lead-acid batteries in gas-dependent vehicles use cable clamps to channel electricity back into the internal cells. You can revive electric cars with 12-volt batteries in the same way if they run out of power. It’s a good idea to keep a set in your trunk, regardless of the car you drive.
How to Use Jumper Cables
Don’t panic if your car won’t start. Review these steps to learn how to jump a car with jumper cables. You can even print them and keep directions in your glove compartment for safekeeping.
1. Locate Your Battery and the Terminal Knobs
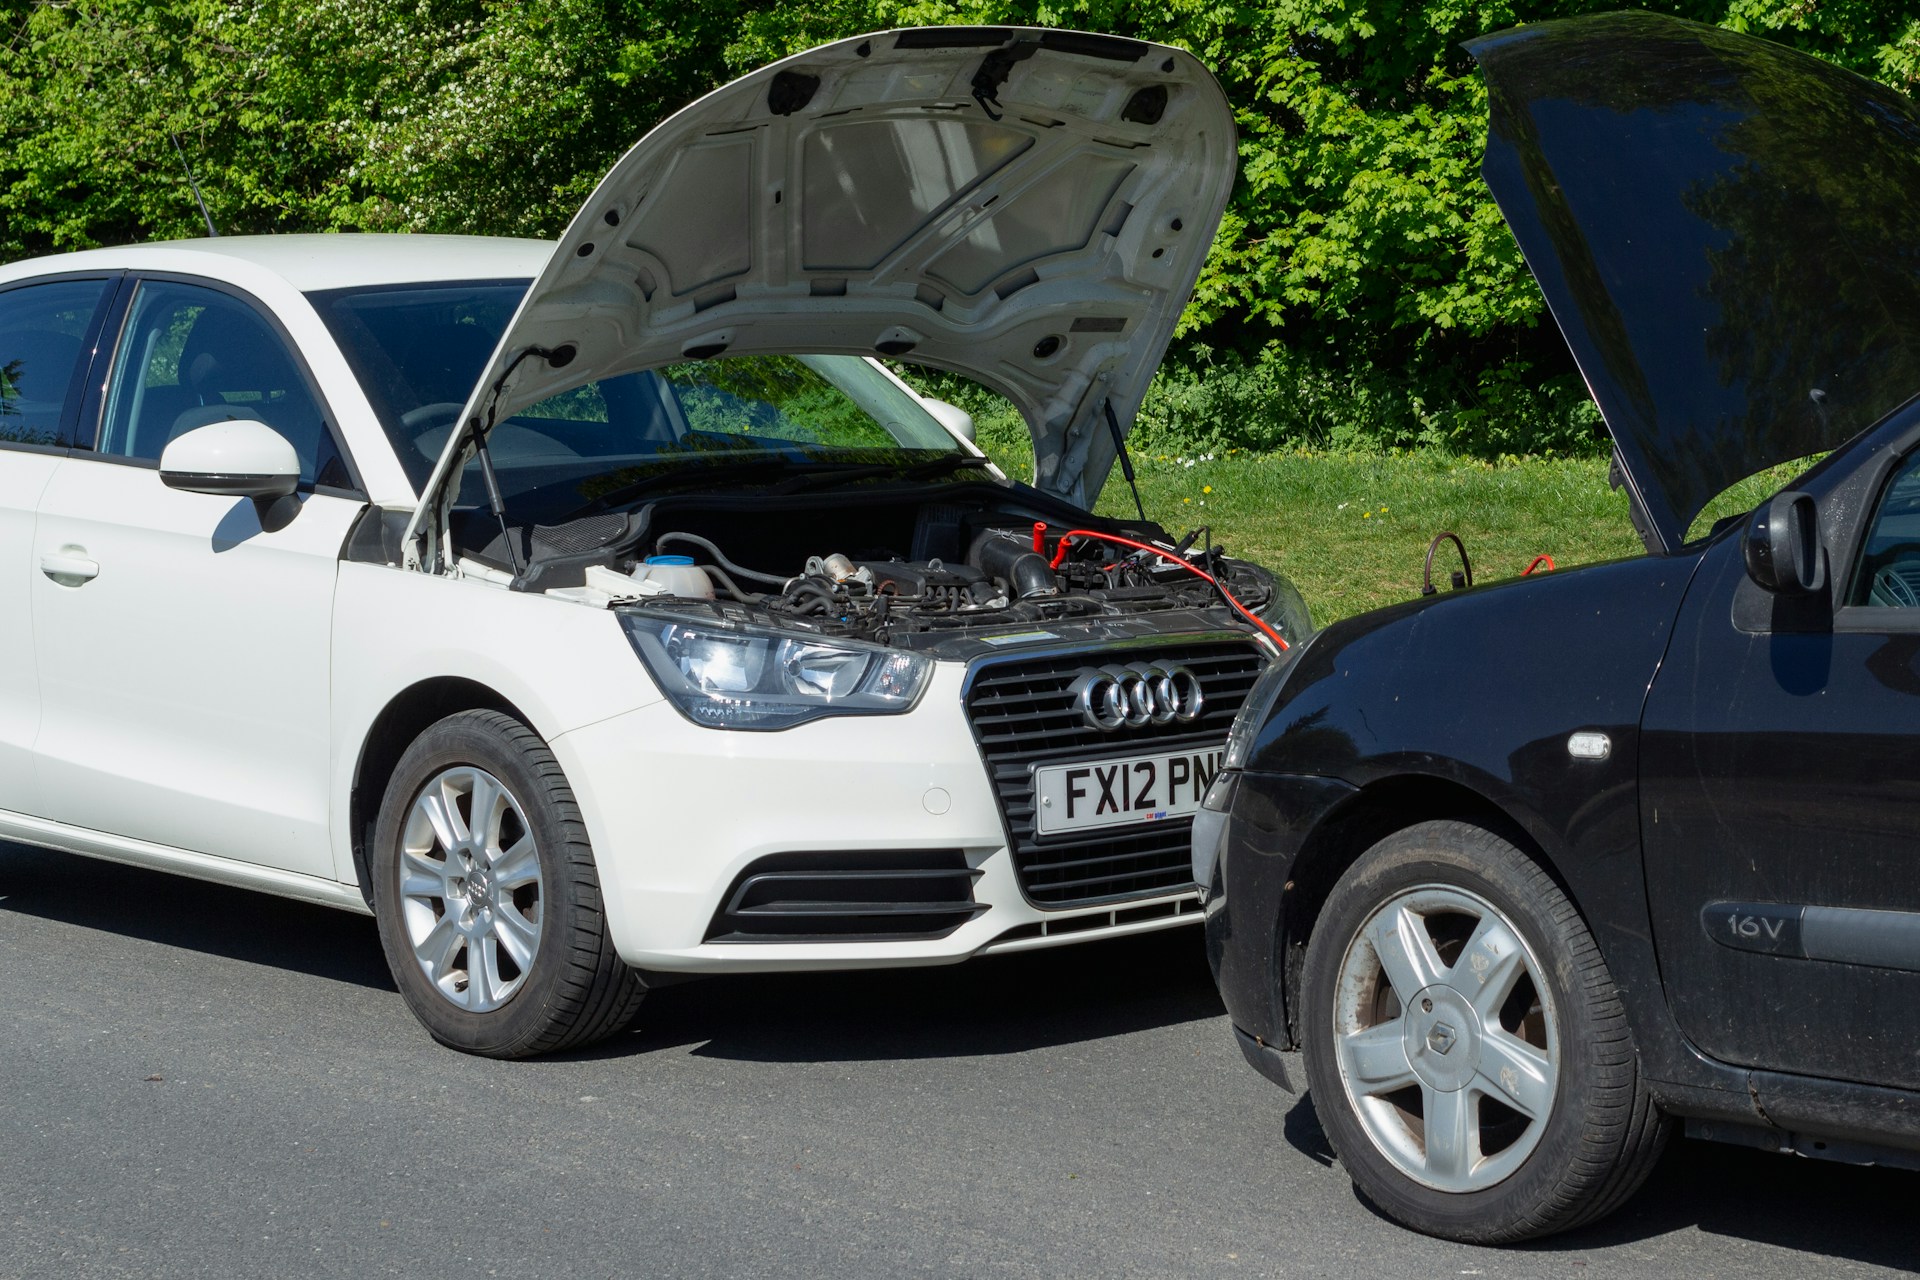
Engage your car’s parking system and use the emergency brake to stabilize the vehicle if you’re on a hill. The car that will jump yours should park facing your hood. Pop both trunks open and get your jumper cables out of your trunk.
Find your battery by looking for a rectangular unit with two knobs on either end. They may be red, black, silver or green. It depends on the vehicle model. The knobs will likely also have plastic covers with plus (+) and minus (-) signs. Determining which terminal knob is positive and negative is the most important part.
2. Place the Cable Clamps on Your Car
Remove any covers over the battery terminals and brush away any dirt. This is when people typically ask — is red positive or negative? It’s the first thing that might catch your eye due to its bright color.
Connect the red end of your jumper cables to the positive knob (it will either be red or have a “+” sign) on your dead battery. The clamp should grip around the knob securely. If it only grasps the terminal with the clamp’s tip, the connection may not be strong enough to channel electricity.
Attach the other clasp on that same end of the jumper cable to any unpainted metal, like a bracket or bolt, within your hood. It will ground the charge. You should now have one side of your jumper cable hooked up to your dead battery and your car while the other side is loose.
Placing the clamps on the wrong terminals is one of the most common reasons why people struggle to recharge their car batteries. Ensure that you know which knob is positive (+) and negative (-) before proceeding.

3. Hook Up to the Other Car
While the other car remains off, repeat the process with that vehicle’s working battery. Attach the red jumper clip to the positive terminal. Clamp the other cable clip to the battery’s negative terminal knob (it will either be silver, black or green — it can also have a “-” sign). Now, you will have the working vehicle’s battery hooked up by both terminals.
4. Start the Working Car
Ask the owner of the functioning vehicle to start their car. Leave your car off. Their vehicle should run for at least one or two minutes. This gives your battery time to absorb the electricity.
5. Turn Your Ignition On
Start your vehicle and give it the same amount of time to charge again — one to two minutes. You won’t completely refuel your battery. However, giving it a few minutes will give your car enough power to start on its own.
Having issues turning your key in the ignition? The wafer-tumbler lock within your wheel may have jammed. You can fix this by wiggling the key back and forth for a few seconds. Try turning the key again. If wiggling doesn’t resolve the problem, you may need to call a tow truck. Your car’s battery won’t recharge if it can’t turn on while connected to jumper cables.
If your battery appears swollen, it’s likely unable to hold a charge anymore. When you reach this step with a swollen battery, it’s nearly impossible to turn a car back on. Calling a tow truck would be your best option in that situation.
6. Remove the Cables in Reverse Order
You don’t want to leave your cars hooked up and running for too long. There could be an electrical short. It also strains both vehicles.
When two minutes pass, leave both cars running. Remove the clamp on the negative knob within your loved one’s car. Do the same with the clamp on their positive terminal.
Detach the clamp on the negative terminal in your car, then repeat the same step with the positive terminal. Your jumper cables will be free again. Store them in your trunk and consider driving to a mechanic’s shop. They can run a diagnostic test to see how much life your battery has left after this experience.
Best Jumper Cable Supplies
You don’t need to leave your car’s battery up to chance. Keep a few supplies stocked in your trunk so you can save the day if your battery dies.
Energizer Jumper Cables
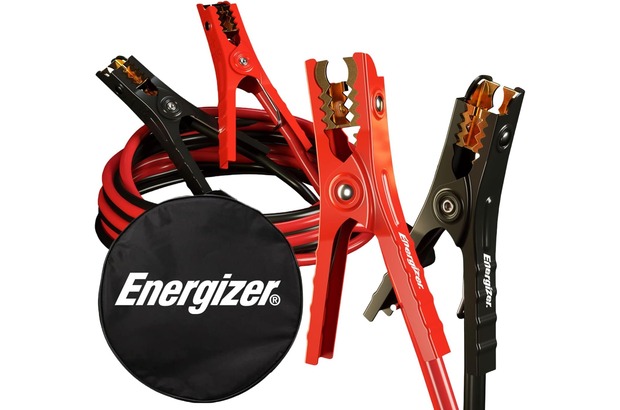
Global households trust Energizer with their battery-powered belongings. The company can also help jump-start your car. Keep these cables in their storage bag right next to your first aid kit so your car is the safest it can be.
NOCO Boost Plus Battery and Cables
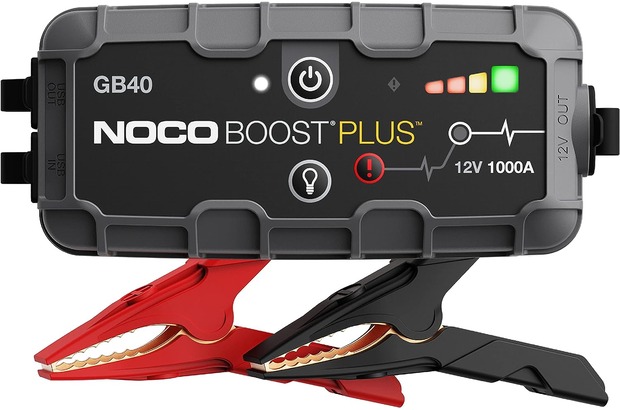
If your car’s engine is a 6-litre (L) or less, the NOCO Boost can bring your battery back to life. It contains enough portable charge (and built-in cables) to get the job done, so you won’t get stranded if your car dies in a place where you don’t have cell service to call for help.
Roadside Assistance Kit
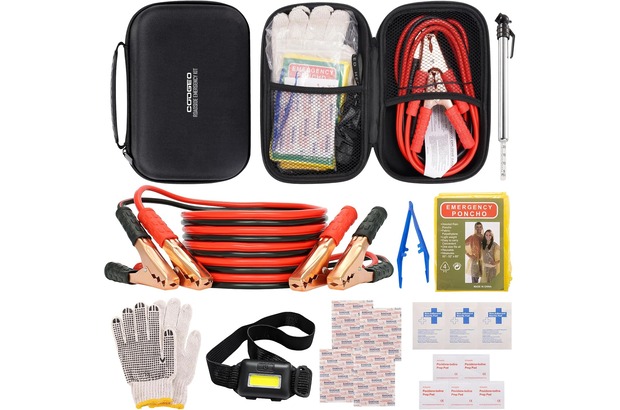
Give your vehicle a complete upgrade with a comprehensive assistance kit. It has supplies, including jumper cables, a poncho, gloves and an LED headlamp. If you pair this with a portable battery, you’ll have everything you could need if you break down in the rain or at night.

Safeguard Your Car’s Battery Life
Knowing how to jump a car will keep you safe on the road. Use these steps and a pair of cables to restore your battery’s life if it can still hold electricity. You’ll always be able to care for yourself and your loved ones, especially if you keep these steps on your phone or in your glove compartment.