As an Amazon Associate, Modded gets commissions for purchases made through links in this post.
Painting your car with colorshift chameleon pearls is a unique and eye-catching way to give your vehicle a one-of-a-kind appearance. Here’s a step-by-step guide on how to paint your car with colorshift chameleon pearls. You’ll also read about mistakes you should avoid when painting your car with color-changing paint.
How to Paint Your Car with Color-Changing Pearl Paint
Before you paint your car, decide on the base color. Most color-shifting stores will have examples of the paint over a white or black base. Choose what best suits your style then gather all the materials and tools needed for the project. For chameleon paint, you’ll need three different layers, a base layer, an iridescent layer and a clear layer. It’ll cost about $200 for everything you need to change the color of your car.
Materials Needed
- Colorshift chameleon pearls (available at auto parts stores or online)
- Automotive paint (color of your choice)
- Clear paint base
- Clear coat
- Primer
- Sandpaper (various grits)
- Masking tape
- Tape and Drape
- Paintbrushes and rollers
- Paint gun (optional)
- Prewash
Instructions
Here’s how to change the color of your car.
Prepare Your Car
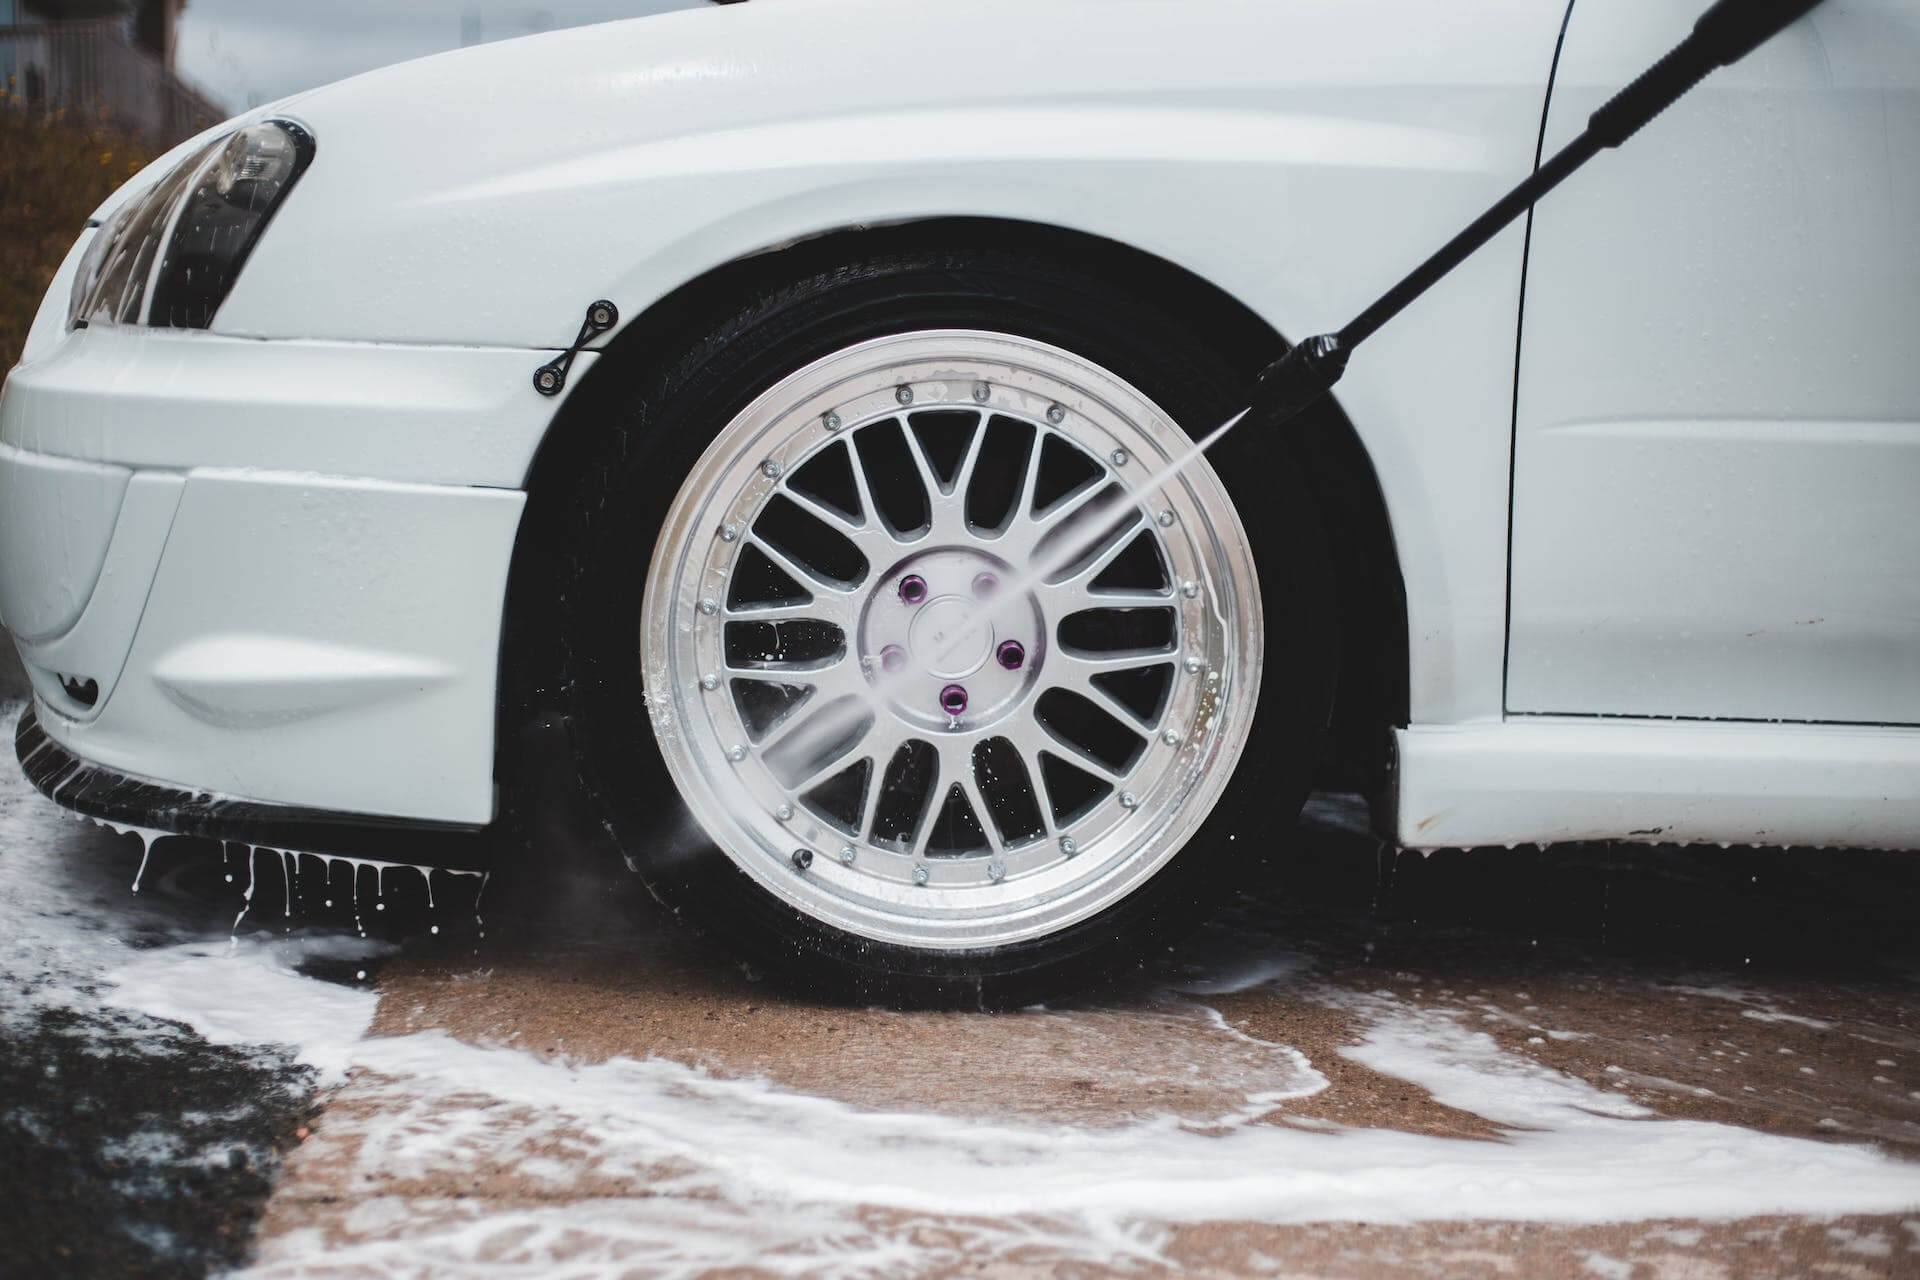
Clean the car’s surface thoroughly to remove dirt, dust and grease. You’ll want to wash the car and ensure it’s completely dry before you start. Use a degreaser to clean the surface if necessary. Lightly sand the car’s surface to create a smooth finish. Use a 220 grit to feather, then a 320 to 400 grit on areas surrounding the featheredge.
Mask the car
This step is one of the most important. If you mask your car well, it will take less time when it comes to clean-up after the paint job. Use tae and drape to cover the windows, engine area and any other surfaces you won’t paint. Make sure you reinforce the masking with more tape to edge everything off. Predip spray.
Prime The Car’s Surface
Apply a layer of primer to the entire car’s surface with the paint gun. Allow the primer to dry completely according to the manufacturer’s instructions.
Apply the Base Coat
Choose an automotive paint that matches the color you want the pearlescent effect to shift toward. A lighter base will work well if you want the color to pop. A black base will do the trick if you want something subtle that still draws attention.Apply a thin layer of paint to the car’s surface. Allow the paint to dry completely according to the manufacturer’s instructions.
Apply the Colorshift Chameleon Pearls
Use a mixing gun or handheld blender to mix 40 grams of pearls into clear paint. Using a spray gun, apply a thin layer of colorshift chameleon pearls over the base coat. Make sure you cover the entire section of the car’s surface evenly. Repeat this process for multiple coats until you achieve the desired level of pearlescence.
Seal with Clear Coat
Once the pearl layers are fully dry, apply a layer of clear coat to seal in the colorshift effect. Use a high-quality clear coat specifically designed for pearlescent finishes. Let it dry.
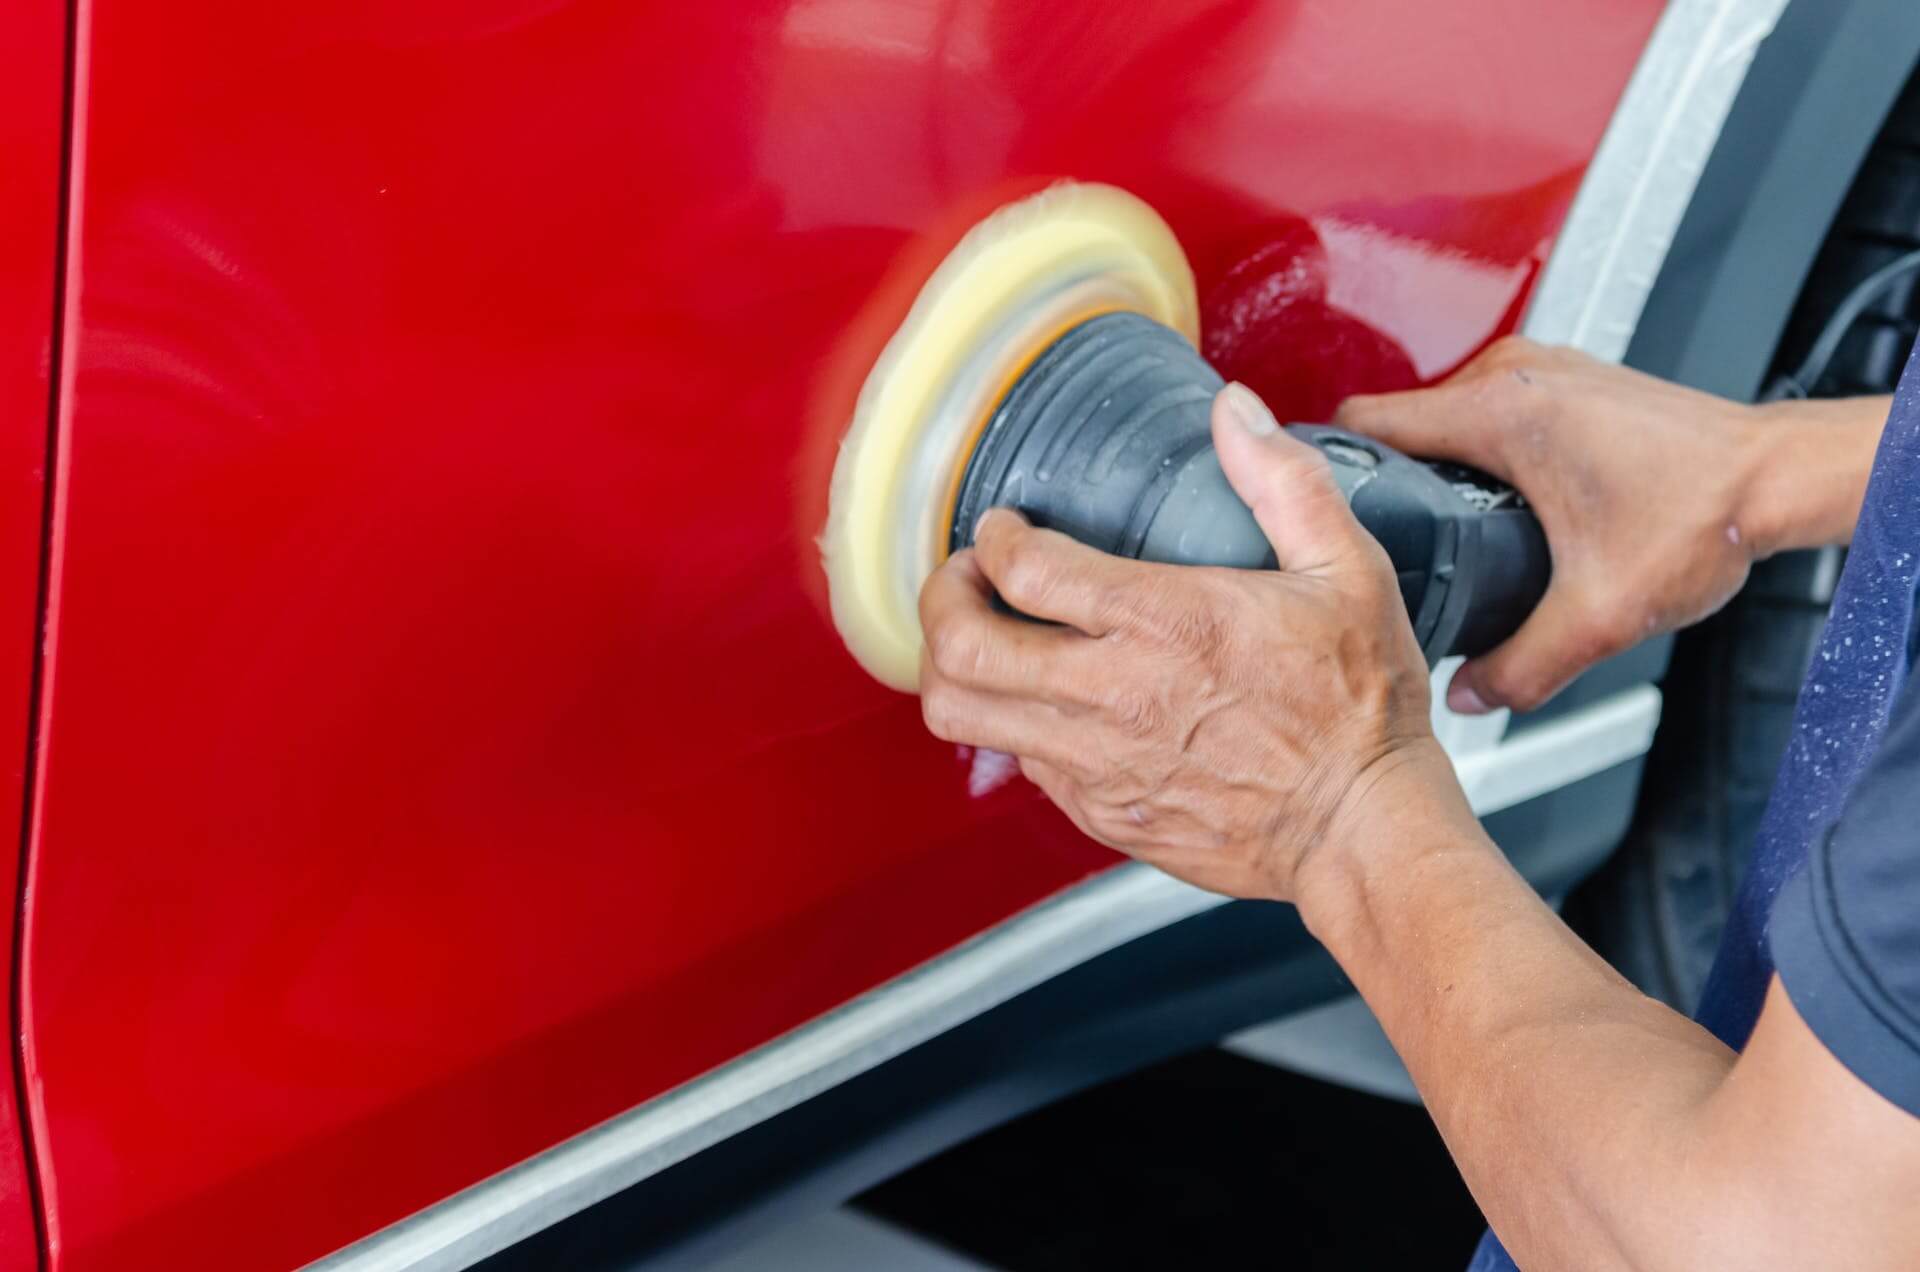
Buff and Polish
Use a buffing pad to lightly buff the car’s surface to remove any imperfections or minor scratches. Follow up by polishing the car’s surface using a polishing compound and a soft cloth.
Final Inspection
Inspect the car’s surface for any remaining imperfections and make necessary adjustments. Apply a protective wax or detail spray to maintain the colorshift effect and protect the paint from UV rays. To maintain the car, regularly wash and wax the car to maintain its appearance and longevity. Avoid using harsh chemicals or abrasive materials that may damage the pearlescent finish.
Variations for Color-Changing Car Paint
Maybe you want something more striking. Try these techniques and combinations for a car that looks unique.
- Mix the colorshift chameleon pearls with transparent paint to create a more subtle shifting effect.
- Experiment with different colors and combinations to achieve a unique look.
- For a two-tone effect, consider applying the pearlescent finish only to certain sections of the car, such as the hood or trunk.
- To enhance the colorshift effect, consider adding a specialized flake or glitter to the clear coat.
- Try a Holographic Pearl over Hypershift for a double effect.
- Go for Black Interference Pearl Paint. In the absence of direct light, the paint appears a deep black gloss. Under direct light, you will see a deep pearlescent color.
Mistakes To Avoid When Painting Your Car With Color-Shifting Pearls
1. Not Properly Preparing the Surface
Before applying the pearlescent paint, make sure the surface of your car is clean and free of dirt, dust, grease, and other contaminants. Use a clay bar to remove impurities and smooth the surface for optimal adhesion. Wash the car atleast 24 hours before
2. Using the Wrong Primer
Pearlescent paints require a specialized primer specifically designed specifically for their unique reflective properties. Using the wrong primer can cause the paint to flake off or lose its iridescent effect. Consult with a professional or do thorough research before choosing a primer.
3. Applying Too Much Paint
It’s important to apply thin coats of pearlescent paint, allowing each layer to dry completely before adding additional coats. Overloading the surface with too much paint can cause it to become uneven and lose its luster.
4. Inadequate Flash Time
Allowing the paint to cure for the recommended time is essential for achieving a durable, high-gloss finish. Don’t rush the process by exposing the paint to direct sunlight, heat, or humidity before fully cured.
5. Using Low-Quality Products
Cheap, low-quality pearlescent paint can lead to disappointing results. Invest in high-quality products from reputable manufacturers to ensure the best possible outcome.
6. Lack of Proper Clear Coat
After applying the pearlescent paint, it must be sealed with a clear coat to protect the finish and enhance its glossiness. Choose a high-quality clear coat specifically designed for use with pearlescent paint.
7. Poor Lighting Conditions
The color-changing effect of pearlescent paint highly depends on lighting conditions. Ensure the area where you’re working is well-lit, and consider investing in specialized lighting designed for painting cars.
8. Inconsistent Color Mixing
If you want to create a custom color, mix the paint consistently throughout the entire batch. Any variations in the mixture can result in visible streaks or blotches.
9. Neglecting To Test the Paint on a Small Area First
Always test on a small, inconspicuous area before applying it to the entire car. This will help you identify any potential issues and make necessary adjustments before committing to the full paint job.