As an Amazon Associate, Modded gets commissions for purchases made through links in this post.
Whether you’re splitting logs for the fire or cutting tree limbs to make a shelter, you’re going to need an axe to do the job right. This versatile tool is essential for any DIY outdoorsman and can even serve as a weapon in extreme situations.
If you use your axe frequently enough or happen to have a vintage one lying around, it’ll eventually begin to dull, rust and splinter. These red flags mean it’s time to give your beloved tool some TLC. With a little elbow grease and a few dollars in supplies, you can restore the axe to its original glory and get back to swinging, chopping and hacking.
Use the step-by-step guide below to get started.
1. Soak the Head
If your axe head is pitted with rust, separate it from the handle and submerge it in white vinegar for 24 to 36 hours or until the acid eats away a few layers of rust. Then, drain the vinegar solution and move on to step two.
If your axe is rust-free but wiggles around the handle, skip the vinegar solution and go straight for the linseed oil. Place the tool upside down in a bucket and add enough oil to cover the head. Allow it to soak for at least a day or two and as long as a week. During this time, the wood inside the eye will soak up the oil and swell to eliminate wiggling. Let it dry for one to four days before moving onto the next step.
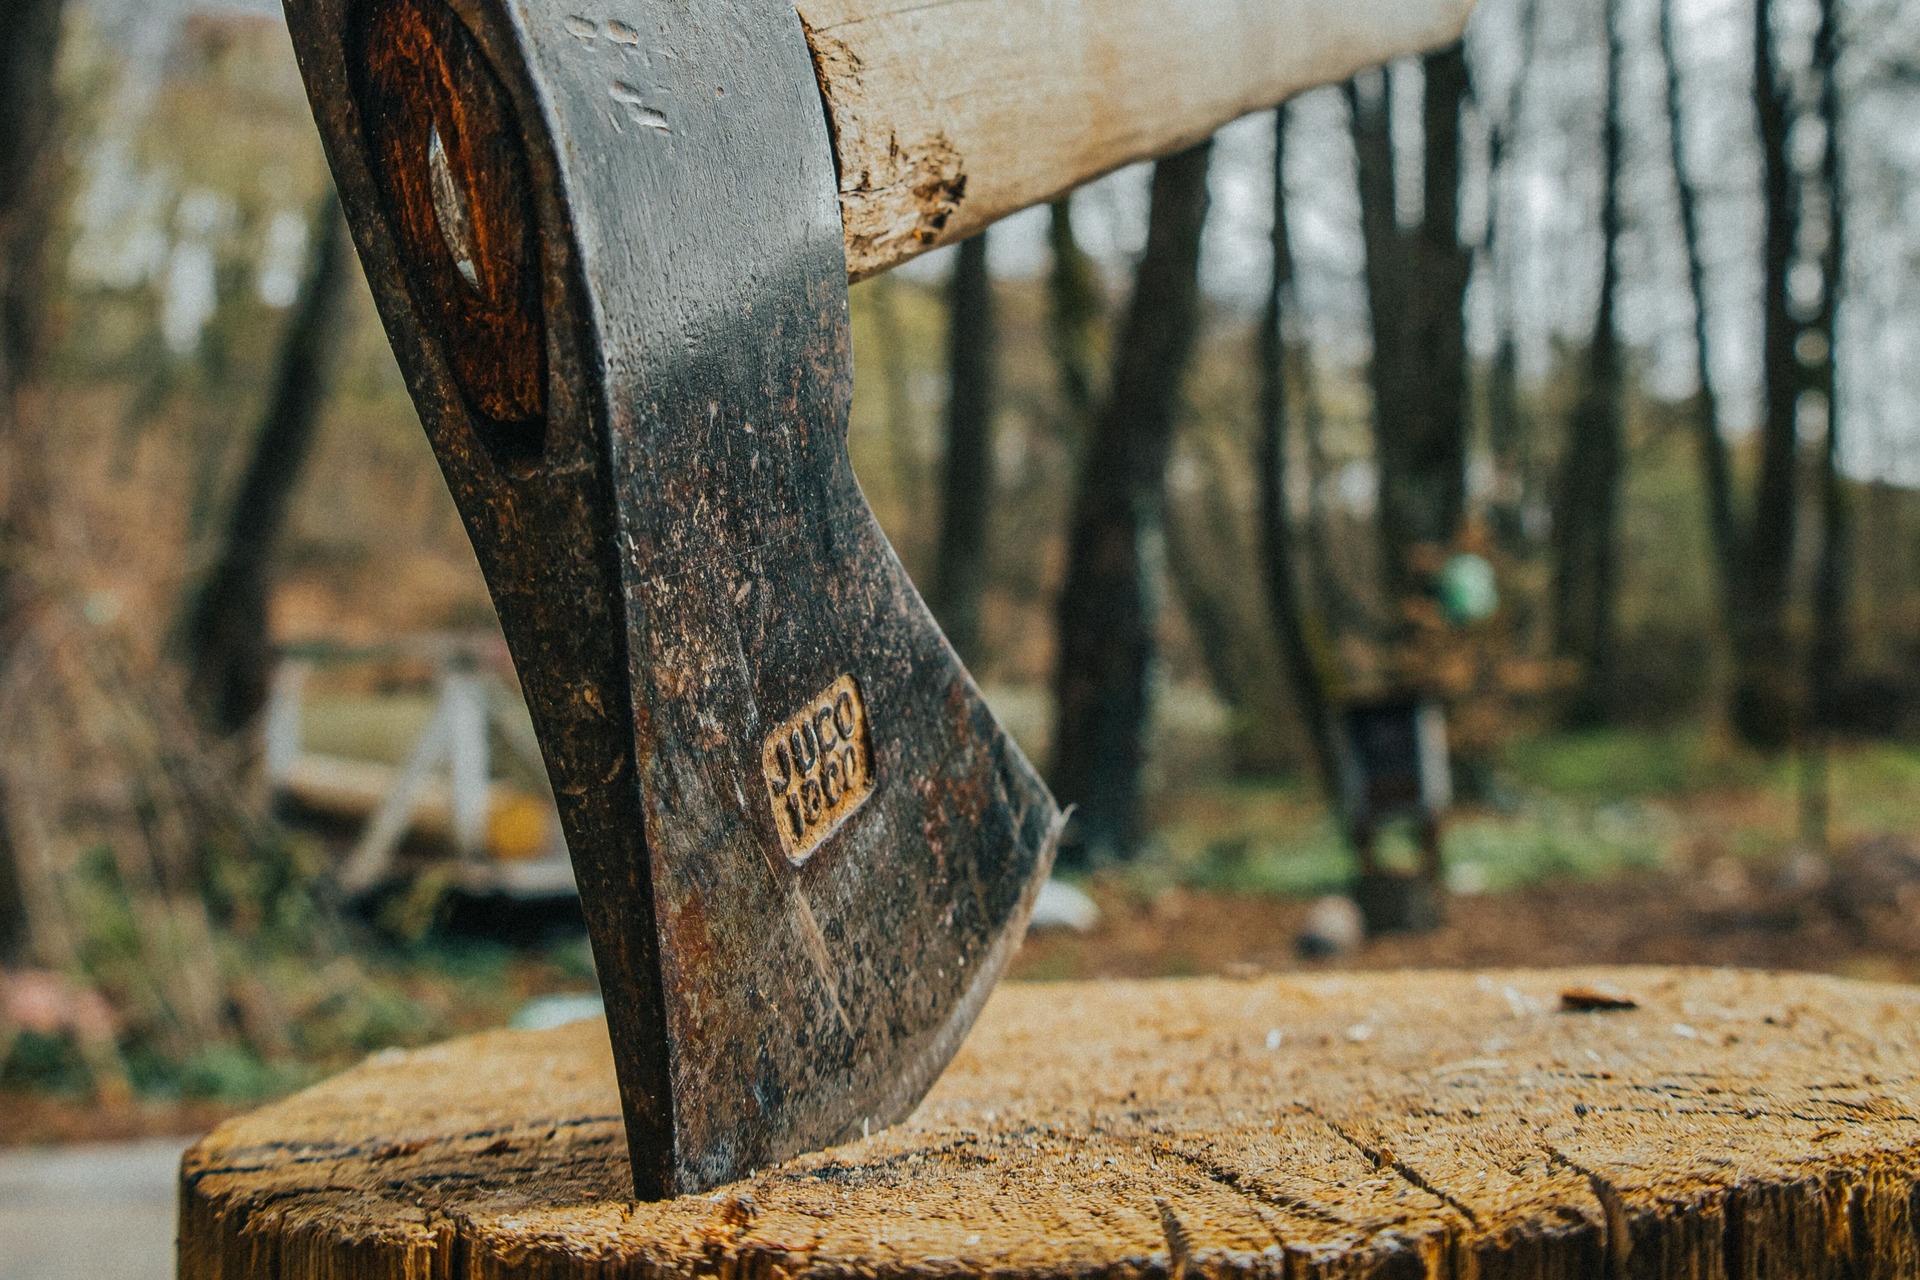
2. Sand Off Rust
A smooth axe is a better performing axe, which is why sanding is so important. Remove rust, dings and scratches with a simple three-step process. First, start with your coarsest sandpaper and sand the axe face in one direction from the poll to the bit.
Next, use medium-grit paper to clean the surface and even it out. Then, finish the job with your finest sandpaper to achieve a good edge. Wear a mask with air filtration to avoid breathing in the metal dust.
3. Sharpen the Blade
Sharpening an axe requires persistence, patience and precision, especially if you opt to use a file. First slip on a pair of cut-resistant gloves and clamp the axe to a table or workbench so the blade hangs off the edge. Hold the file at a slight angle and create a straight line from a point one inch back on the axe face all the way to the bit.
Once you’ve beveled on one side, flip the axe over and do the other. Finally, blunt the blade just a bit by setting the keen edge to prevent chips and nicks. Use a sharpening stone to expedite the process and achieve a clean, sharp edge with less effort.
4. Sand the Handle
If your axe handle is wood — and it should be — you can smooth its surface the same way you did the head. Start with the coarsest grit paper and work your way down to the finest. Then, wet a rag and wipe down the handle to clean off the sawdust.
As it dries, burrs will rise up out of the handle, which you can remove by sanding again with your finest grit paper. Wet and sand a third time if you love a silky smooth handle or rough it up with coarse paper if you want a little more grip.

5. Rub with Oil
Last, but certainly not least, rub your entire axe with linseed oil. Use additives like pine tar, turpentine and beeswax to achieve different finishes on the wooden handle. You should also opt for boiled linseed oil to protect the haft from mildew and expedite the drying process. Use a brush to apply several coats and completely saturate the wood to prevent cracking and shrinking. Applying oil to the metal will also help repel water and protect its integrity, even after months of use.
Dispose of oily rags, brushes and towels by placing them in airtight containers or bags with water. You can also dry them out on a clothesline to remove heat before tossing them in the rubbish. This vital step will prevent combustion and fires that often occur as linseed oil evaporates.
Can’t You Buy Another?
If restoring an old axe sounds like a lot of work, that’s because it is! Sure, you could buy a brand new one and skip the whole ordeal, but why throw away something that’s still so useful and symbolic.
If nothing else, restoring your axe will pay homage to its history as the tool that built the country. At best, you’ll use it for many years to come and one day pass it down to your kids as a family heirloom. Teach them how to care for it and they, too, will pass on your legacy.