As an Amazon Associate, Modded gets commissions for purchases made through links in this post.
A fire pit is a great addition to your backyard. Like many other home projects, it’s also great to build yourself to save money or get the satisfaction of constructing something with your own hands. Even better, learning how to make a fire pit is fairly straightforward.
Maybe you love the outdoors, but the hardcore world of primitive camping is a bit much for you. Maybe you just want a place to relax on a cool night. Whatever the reason, here’s everything you need to know to make a fire pit.
1. Make Some Design Choices
Before diving into how to make a fire pit, you need to decide what kind of pit you want. Start with the shape. Rectangular pits are a bit easier to measure and plan, but circular ones offer a classic design and aren’t much harder to build.
You could also put a metal fire ring or bowl in your pit for easier cleanup or leave it open for a more natural look. Be sure to consider the color and construction material you want, too, as this could limit your choices. You may like a certain color of brick but find it’s only available in one shape or size. See what your local hardware store has in stock to help narrow it down.
2. Determine the Site and Size
Next, you’ll want to determine where you’ll put the fire pit. Find a spot at least 10 feet away from your house and clear of any large plants so you don’t accidentally catch anything on fire. You should also check state and city laws, as some local governments restrict backyard burning in various ways.
While you’re considering a potential site, think of how big you want your fire pit to be. Generally speaking, a diameter of three to four and a half feet is ideal for a large but manageable fire. Be sure to check local regulations about fire pit sizes, too.

3. Gather Your Materials
Now it’s time to get everything you need to actually make the fire pit. You’ll need:
- Bricks, stones or concrete pavers for the exterior ring
- A shovel
- Sand
- Gravel, fire glass or lava rocks to sit inside the ring
Be sure to get fire-resistant bricks, stones or pavers when getting the materials for your exterior ring. If they aren’t made specifically for fire pits, they may explode or fall apart in high heat. The same goes for any gravel or rocks you choose to line the bottom of your pit.
Some other materials you don’t need but may want include:
- A metal fire ring
- A tamper
- Landscaping fabric
How much of everything you need depends on how big of a pit you’re building. Your local hardware store will be able to help you know how many bricks or stones you need. One 50-pound bag of sand and gravel should be plenty for most pits.
4. Dig a Hole
Once you have all your materials, it’s time to get to work. First, outline the shape of your pit. The easiest way is to lay down one layer of your wall material. From there, grab a shovel and use the edge to mark the exterior shape. You could also use spray paint if you prefer.
With your outline in place, get to digging. Your pit should be around seven inches deep to leave plenty of room for your base. Once you’ve got it deep enough, use your shovel or a tamper to level the bottom.
5. Insert Your Lining and Base
The next step in making a fire pit is to lay down the base layers. Place some landscaping fabric first if you have some. This isn’t strictly necessary, but it’ll help prevent weeds and grass that may populate your pit. Then, pour a one-inch layer of sand on top and tamp it down.
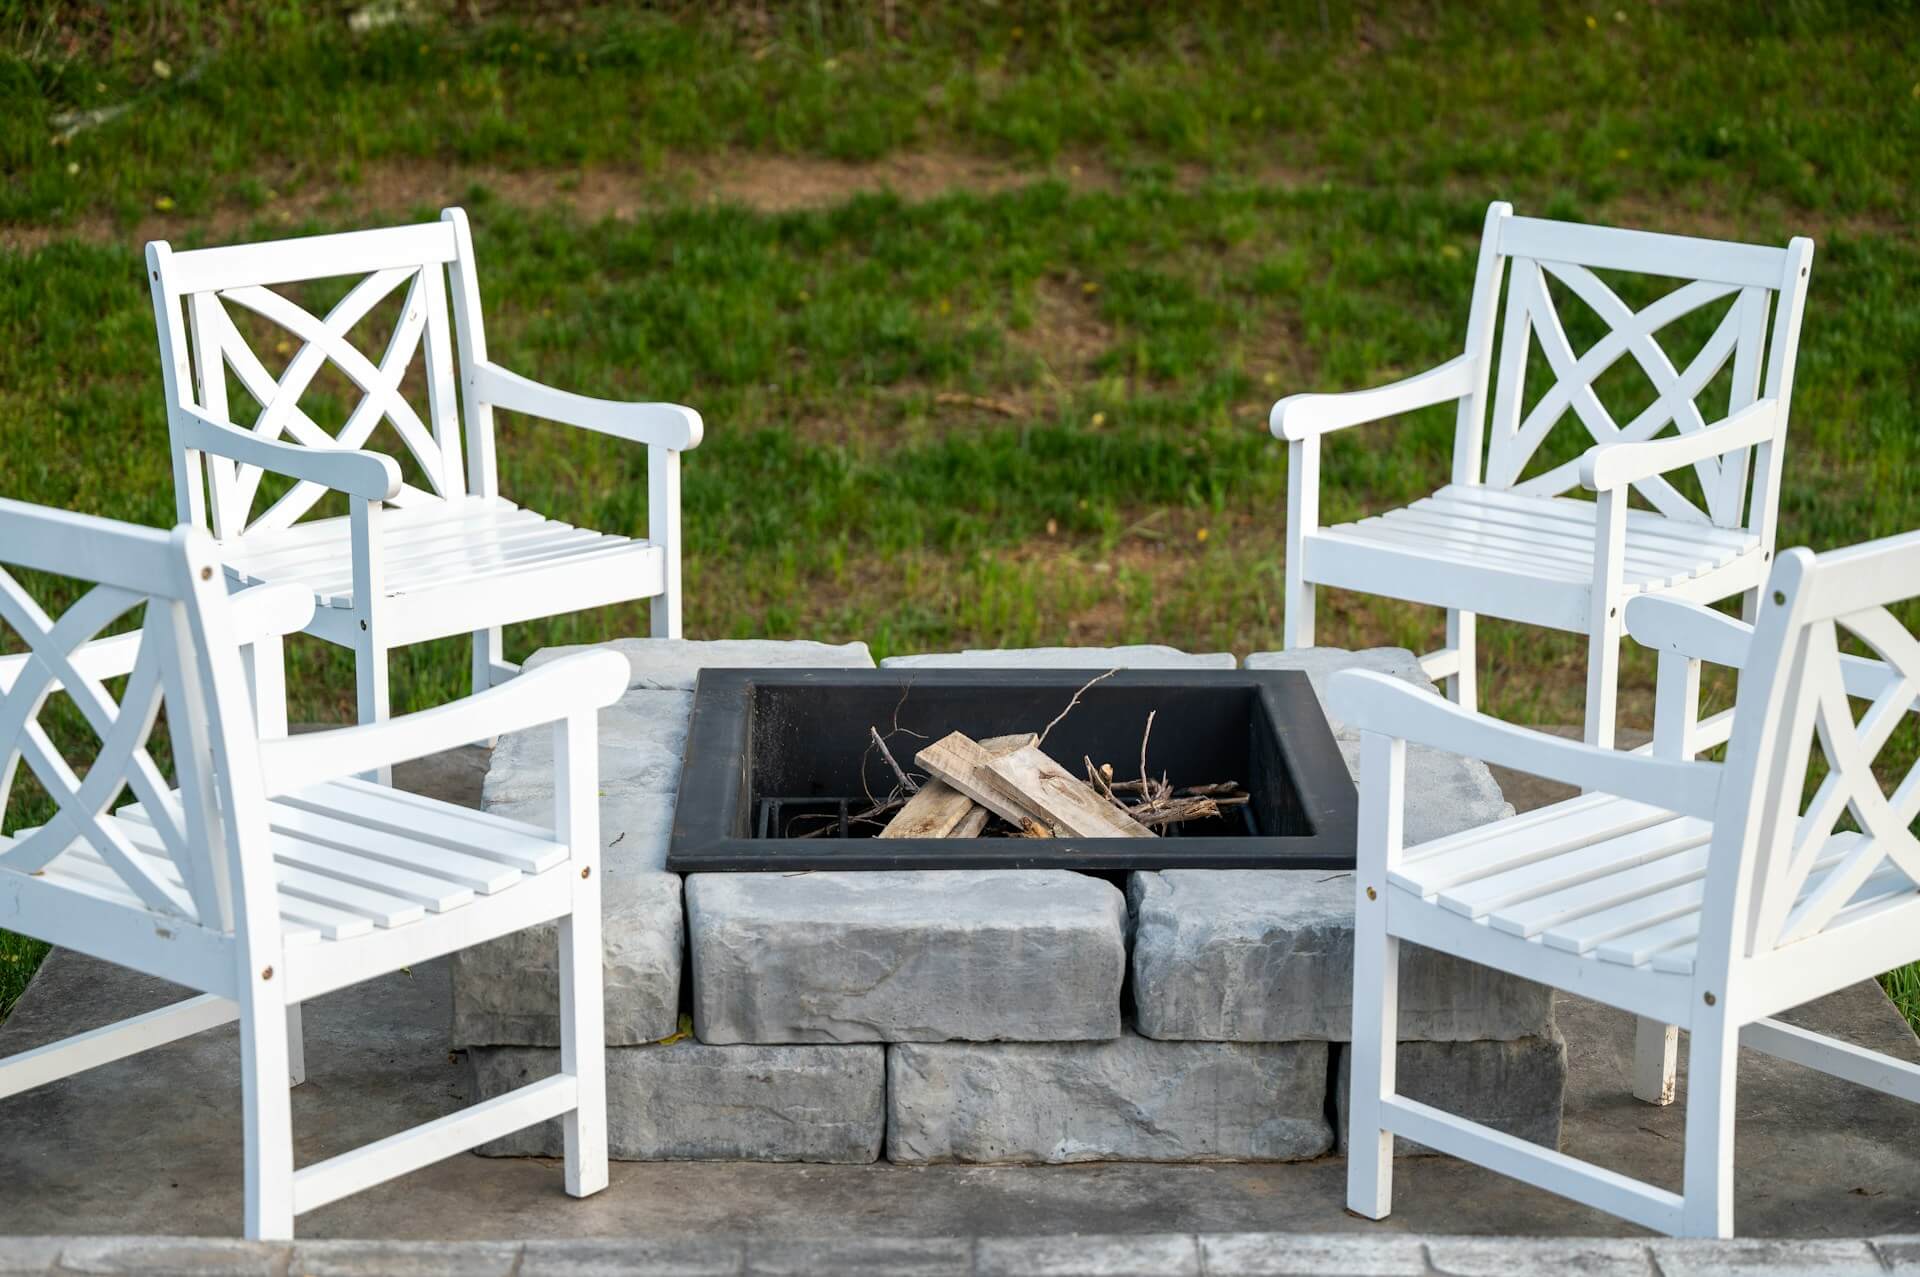
6. Place Your Blocks
Now it’s time to build the exterior ring. Put your metal ring in the center of the pit if you’ve chosen to go that route. Otherwise, start stacking blocks.
Line your bricks, stones or pavers on top of the sand at the very edge of your pit, pressing them firmly into the sand. They should hug around the metal ring on their inside face if you’re using one.
Many fire pit bricks and pavers have a curve, so if you line up the edges, they’ll make a perfect circle. Rectangular pits are even easier, as you’ll just lay them in straight lines. Regardless of your shape, you’ll want to construct two or three layers. Be sure to offset each layer so the spaces where two blocks meet don’t align.
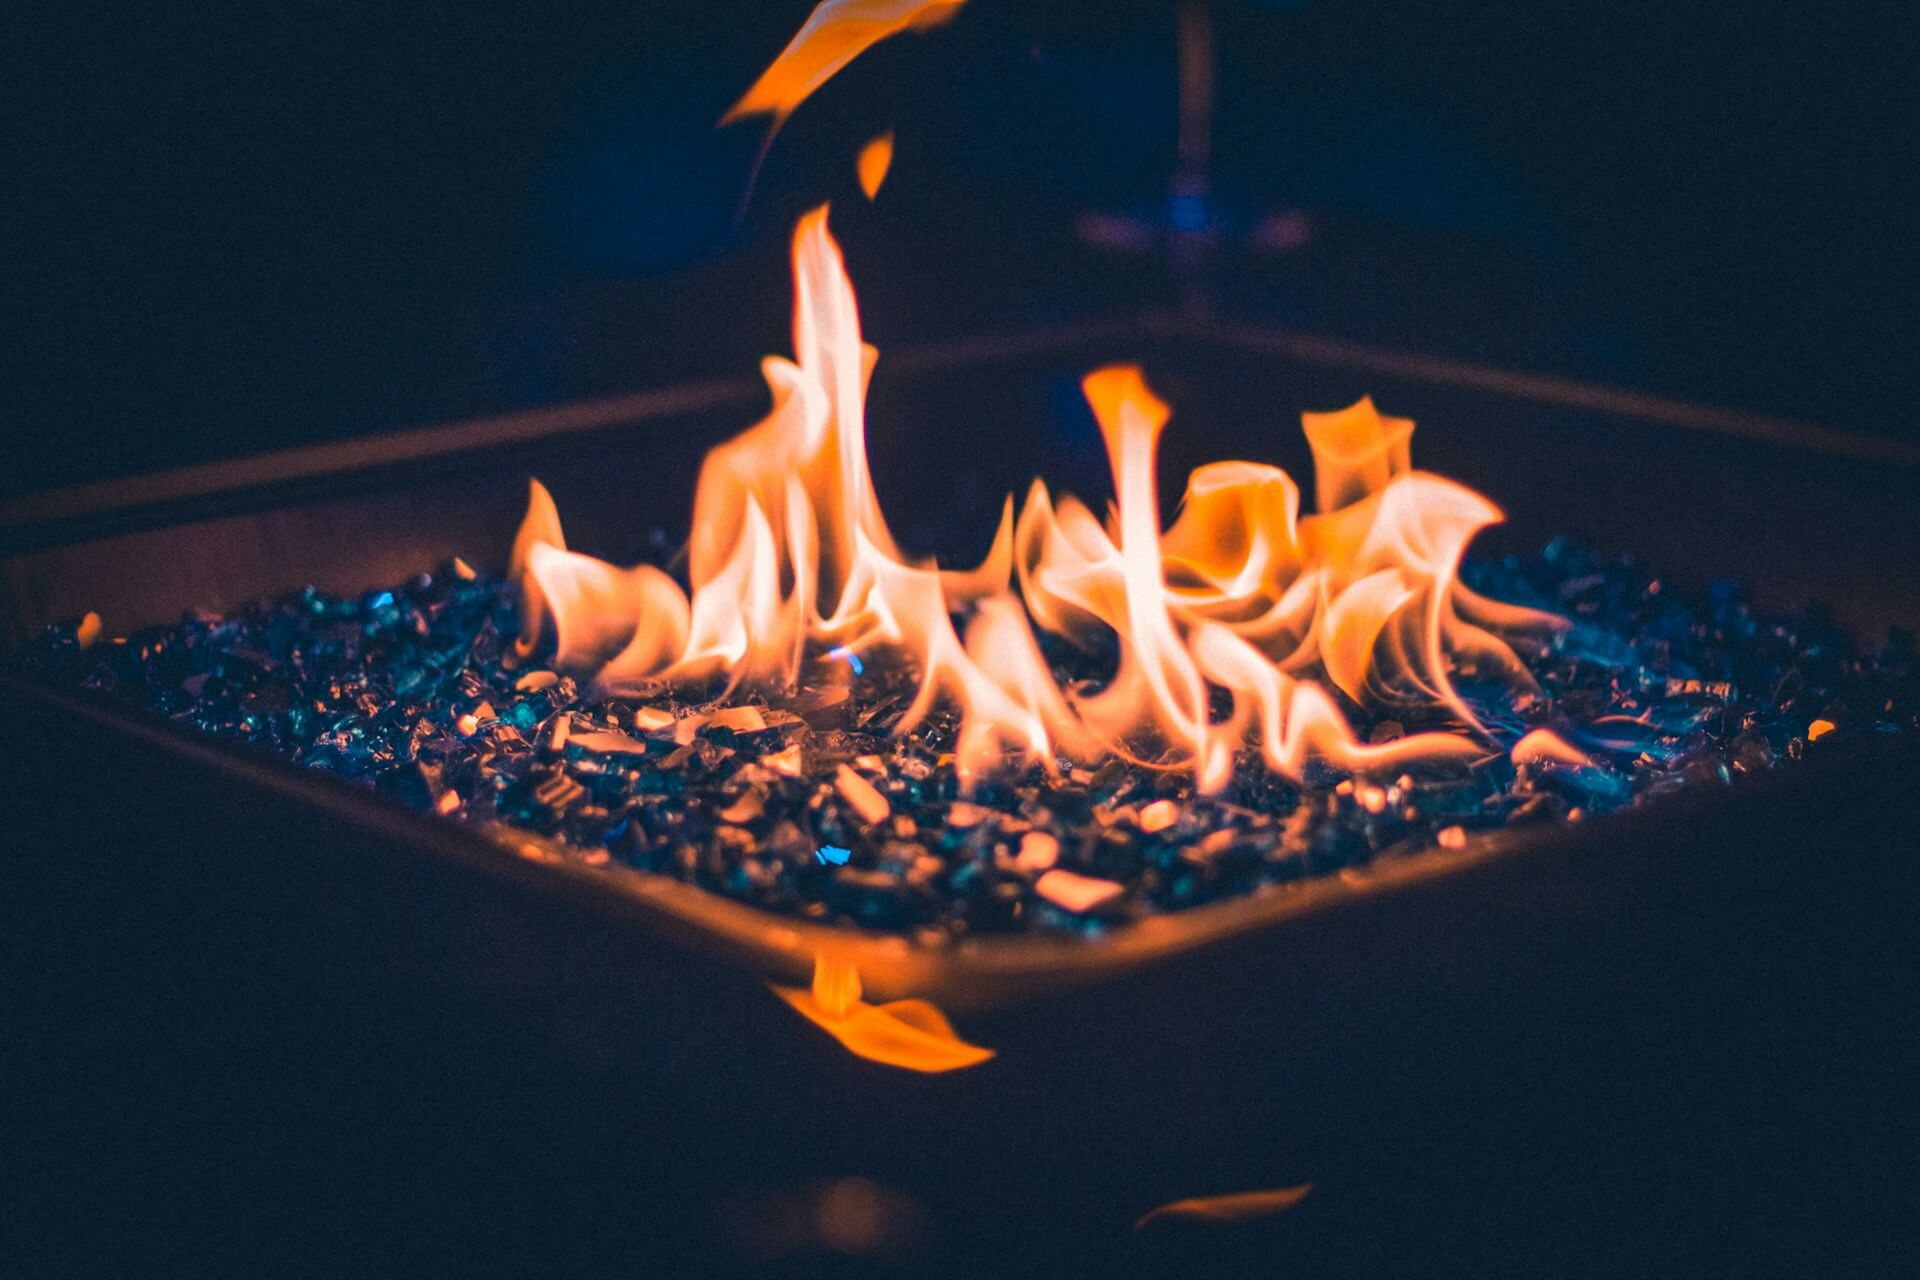
7. Fill the Pit
Next, fill the interior of your pit. The idea here is to make it look nice and stop vegetation from growing inside. It’s worth reiterating that you absolutely must only use fire-resistant materials. Some rocks can explode in fire, and flying shards of hot gravel isn’t fun for anyone.
Lava rocks and fire glass are popular choices and look great, but be sure to check the reviews to ensure they’re as fireproof as they say. Some types of gravel can work, but only if they’re rated for use in fire pits. Alternatively, you could just pour more sand in the bottom. It won’t be as pretty, but it’s cheap and safe.
8. Tidy Up and Enjoy
Well, would you look at that — you now have a functioning fire pit! Clear any excess dirt and debris away from the area and trim the grass around the outside to make it look nice. Now all you have to do is grab your preferred type of beer, light some firewood inside your new pit and enjoy the fruits of your labor.
Make Your Fire Pit Today
Once you know how to make a fire pit, it’s a fairly easy project. You could hire a contractor to do it or buy a premade fire pit, but there’s no matching the cost-efficiency and satisfaction of doing it yourself. You can always upgrade your fire pit by building a walkway to it or placing some torches and chairs around it, too. Get started and add some value to your backyard today.