As an Amazon Associate, Modded gets commissions for purchases made through links in this post.
It is every gamer’s dream to have a gaming PC. However, we know it can quickly become an expensive undertaking. This is especially true at a time when PC components are becoming more expensive due to AI demand. Discover how to build a gaming PC that won’t cost an arm and a leg.
How Much Does It Cost to Build a Gaming PC?
In 2026, PC builders spend around $500-$800 on an entry-level gaming PC. This budget covers the basic components, quality graphics and a smooth gaming experience. Resolution is primarily 1080p, with the potential for some light 1440p gaming in less demanding titles. You can also enjoy a consistent 60+ FPS on most games, and even 144+ FPS in some.
Core Components of a Gaming PC
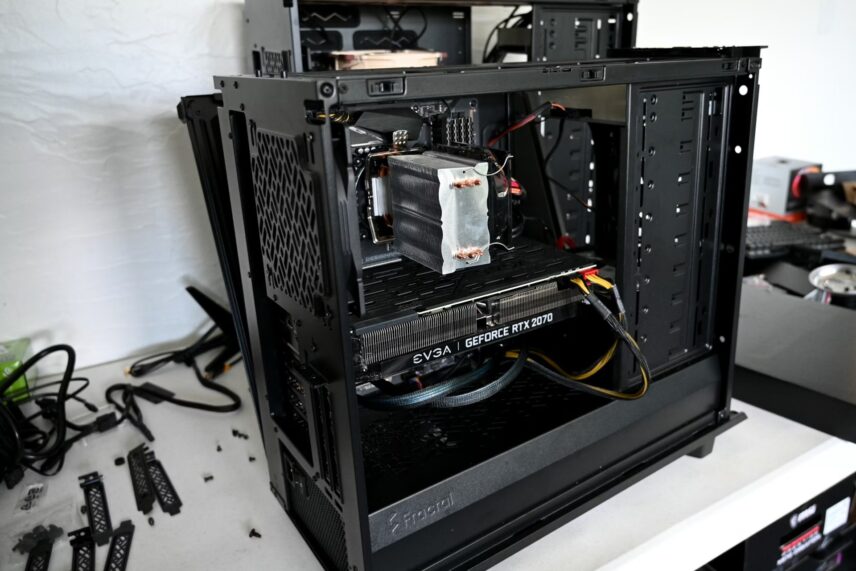
A PC is built from seven basic components.
CPU
The CPU is the brain of your PC. It handles everything, from running your Windows to loading your games. Beginner builders are often faced with the same dilemma — Intel or Advanced Micro Devices (AMD)? These are two different brands that offer pros and cons.
| Intel | AMD |
| Higher RAM frequencies | Runs cooler and consumes less power |
| Solid option if you prioritize maximum single-core speed | More superior performance with higher core/thread counts |
| Reliable for productivity performance | Provides better socket longevity |
| Higher memory bandwidth | Solid option if you want the best gaming performance and a long-term upgrade path |
Modern processors like an Intel Core i3-12100F or an AMD Ryzen 5 5500 offer excellent gaming value.
Motherboard
The motherboard provides communication channels for your CPUs and other PC components. It ensures everything works perfectly in sync. When choosing your gaming CPU’s motherboard, ensure its chipset is compatible with your GPU, RAM, CPU and other peripherals. It should also be the right size and shape for your case. Lastly, it must have the necessary internal expansion slots and external ports.
Graphics Card (GPU)
The GPU renders visuals and games. A more sophisticated GPU delivers smoother frame rates and higher resolutions, instantly elevating your gaming experience. Entry-level GPU options include the NVIDIA GeForce RTX 2060 and AMD Radeon RX 6500 XT. If you’re playing nostalgic games, then any of these would suffice.
Random Access Memory (RAM)
RAM serves as your PC’s short-term storage system. Unlike your hard drive, it stores data from running applications and helps load game assets quickly. A higher RAM allows you to open multiple tabs and apps while gaming. We recommend at least 16GB for an entry-level PC.
Solid-State Drive (SSD) Storage
SSD is where you store all your files, including documents, movies and games. Unlike a standard disc drive or HDD, SSDs have faster read and write speeds. When building a gaming PC, a 500GB M.2 SSD is a nonnegotiable, especially when playing popular games like Overwatch 2, which had an average of almost 60,000 users in January and February 2025.
Case
The case is the home for all your components. The right one depends on where you plan to place your PC — on your desk, under your desk, a wall unit or somewhere more unique? Full-tower cases are usually larger, providing more space for components and cooling systems. Mid- and mini-towers are compact and made to fit on a desk. Make sure that all components fit inside before buying a case.
Power Supply (PSU)
As the name suggests, you need a power supply to keep your CPU running. It activates when you plug it into a wall outlet, supplying power to your components. Calculate the required power by summing your components’ power consumption, then find a matching PSU.
A PC Builder’s Guide to Assembling the Rig
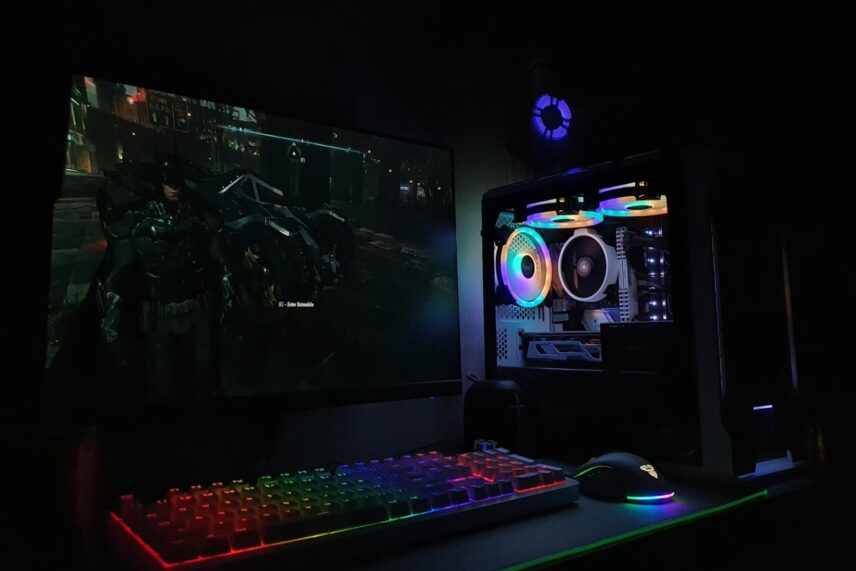
Ready to build your gaming PC? Here’s a step-by-step guide you can follow.
Gather Your Tools
Before you start assembling the components, gather all your tools on a large table. Here’s everything you need:
- Phillips #2 screwdriver, preferably with a magnetic tip and a long shaft to prevent losing screws
- Small Phillips #0 or #1 screwdriver for tiny SSD screws
- Flexible lamp or flashlight for seeing into dark corners of the case
- Long-nose pliers so you can get dropped screws behind the motherboard
- Magnetic tray or small containers to organize screws
Prepare the Case
Open your PC case and snap the I/O shield into the back of the case, then temporarily place the motherboard to see which screw holes line up before installing the standoffs.
Install the CPU and Cooler
Find the tiny arrow in one corner of your CPU and and the matching arrow in the corner of your motherboard. Match the arrows and let the CPU drop perfectly in place. Immediately lower the socket lever to lock the CPU down. This may require firm pressure, which can be scary, but it is totally normal.
Next, prepare the cooler. Check if your cooler already has thermal paste on the bottom. If it doesn’t, apply a pea-sized dot to the center of the CPU. Follow the motherboard manufacturer’s instructions to secure the cooler.
Install RAM
See how many RAM slots your motherboard has, then snap your RAM in place. Consult the user manual for instructions on configuring and populating the slots. Open the clips on the ends of the RAM slots first. You’ll know the RAM is fully seated when you hear and see the clips “click” shut on their own.
Install the SSD
Locate the M.2 slot on your motherboard. Unscrew the small standoff, slide the SSD into the slot, then press it down slowly and secure it with a screw. Remember to remove the protective plastic film over the thermal pad before screwing the heatsink down over the drive
Mount the Motherboard
Place the motherboard into the case gently, aligning its central hole with the center standoff and the back ports with the preinstalled I/O shield, or the metal plate for your USB and audio. Keep the screw snug but do not overtighten.
Install the GPU and Power Supply
Find the PCIe x16 slot on the motherboard. It usually comes in a different color. Check the user manual to see if a certain slot needs to be prioritized. Lastly, mount the PSU in the case, which is usually at the bottom or top rear. Secure with the provided screws and plug the power cables into the motherboard.
Connect the large 24-pin ATX cable to the motherboard, the 8-pin (or 4+4 pin) EPS CPU cable near the top of the motherboard, the PCIe power cables to the GPU and the SATA power to any other accessories.
Perform a Test Run
Run a quick test to ensure your components work together. Check for any errors that may appear. Make sure every component is well seated in its slot. A successful first boot means the fans spin, the component lights turn on and a display signal appears on the monitor, showing the BIOS/UEFI screen or the manufacturer’s logo.
Build Your Dream Gaming PC
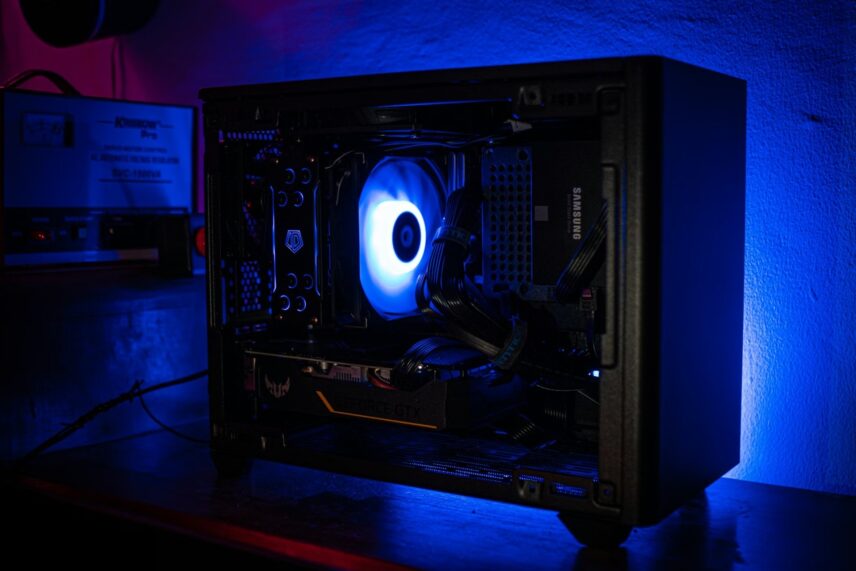
Assuming everything goes smoothly, it’s time to install your operating system. You can install an unlicensed version of Windows or Linux, since both are free OSs that offer high customization and performance. Then, invest in a good gaming chair that provides proper ergonomic support so you can play for hours. Happy gaming!